When you’re responsible for coordinating 30, 300, or 3,000 employee headshots, the real cost isn’t just the photographer—it’s disruption. Rooms get booked, calendars collide, brand teams worry about consistency, and someone always needs a retake. The question smart marketers ask is simple: How do we get uniform, on-brand portraits—fast—without sacrificing quality?
Short answer: a tightly controlled capture workflow paired with production-grade AI that accelerates the slow parts you don’t want humans doing by hand.
Below is how we structure group headshot projects so you get speed, consistency, and executive-level finish—on location or in studio.
What “AI-accelerated” Actually Means in Headshot Production
AI isn’t a magic filter; it’s a set of targeted, measurable accelerators inside a disciplined production pipeline.
Where AI helps most
Scheduling & throughput modeling: We simulate traffic flow (arrival→grooming→capture→approval) to right-size crews and booths.
Pose & expression guidance: Real-time prompts analyze micro-expressions to reduce reshoots and deliver “approvable” frames faster.
Background and crop uniformity: Automated edge detection and matting keep every portrait aligned to brand spec (aspect ratio, headroom, eye line).
Batch color and skin-tone balance: Scene-aware matching gives consistent color across different shoot days, locations, and lighting.
Spec compliance at scale: File naming, metadata, and multi-output renditions (web, LinkedIn, directory, signage) render automatically.
Quality triage: AI flags reflections in glasses, stray hairs, lint, or uneven collars before talent leaves set.
Where humans stay in charge
Lighting design, lensing, direction, rapport, and final aesthetic calls. AI proposes; humans decide.
1. What is Product Photography? Product photography involves capturing images of products for commercial use, such as advertisements, catalogs, online stores, and promotional materials. The goal is to present products in an attractive and accurate way that highlights their features and benefits to potential customers.
High-quality images create a strong first impression and are crucial for online shopping where customers rely on visuals to make purchasing decisions.
2. Why is Professional Product Photography Important? Professional product photography enhances the perceived value of products, attracts more customers, and can significantly increase sales. High-quality images create a strong first impression and are crucial for online shopping where customers rely on visuals to make purchasing decisions.
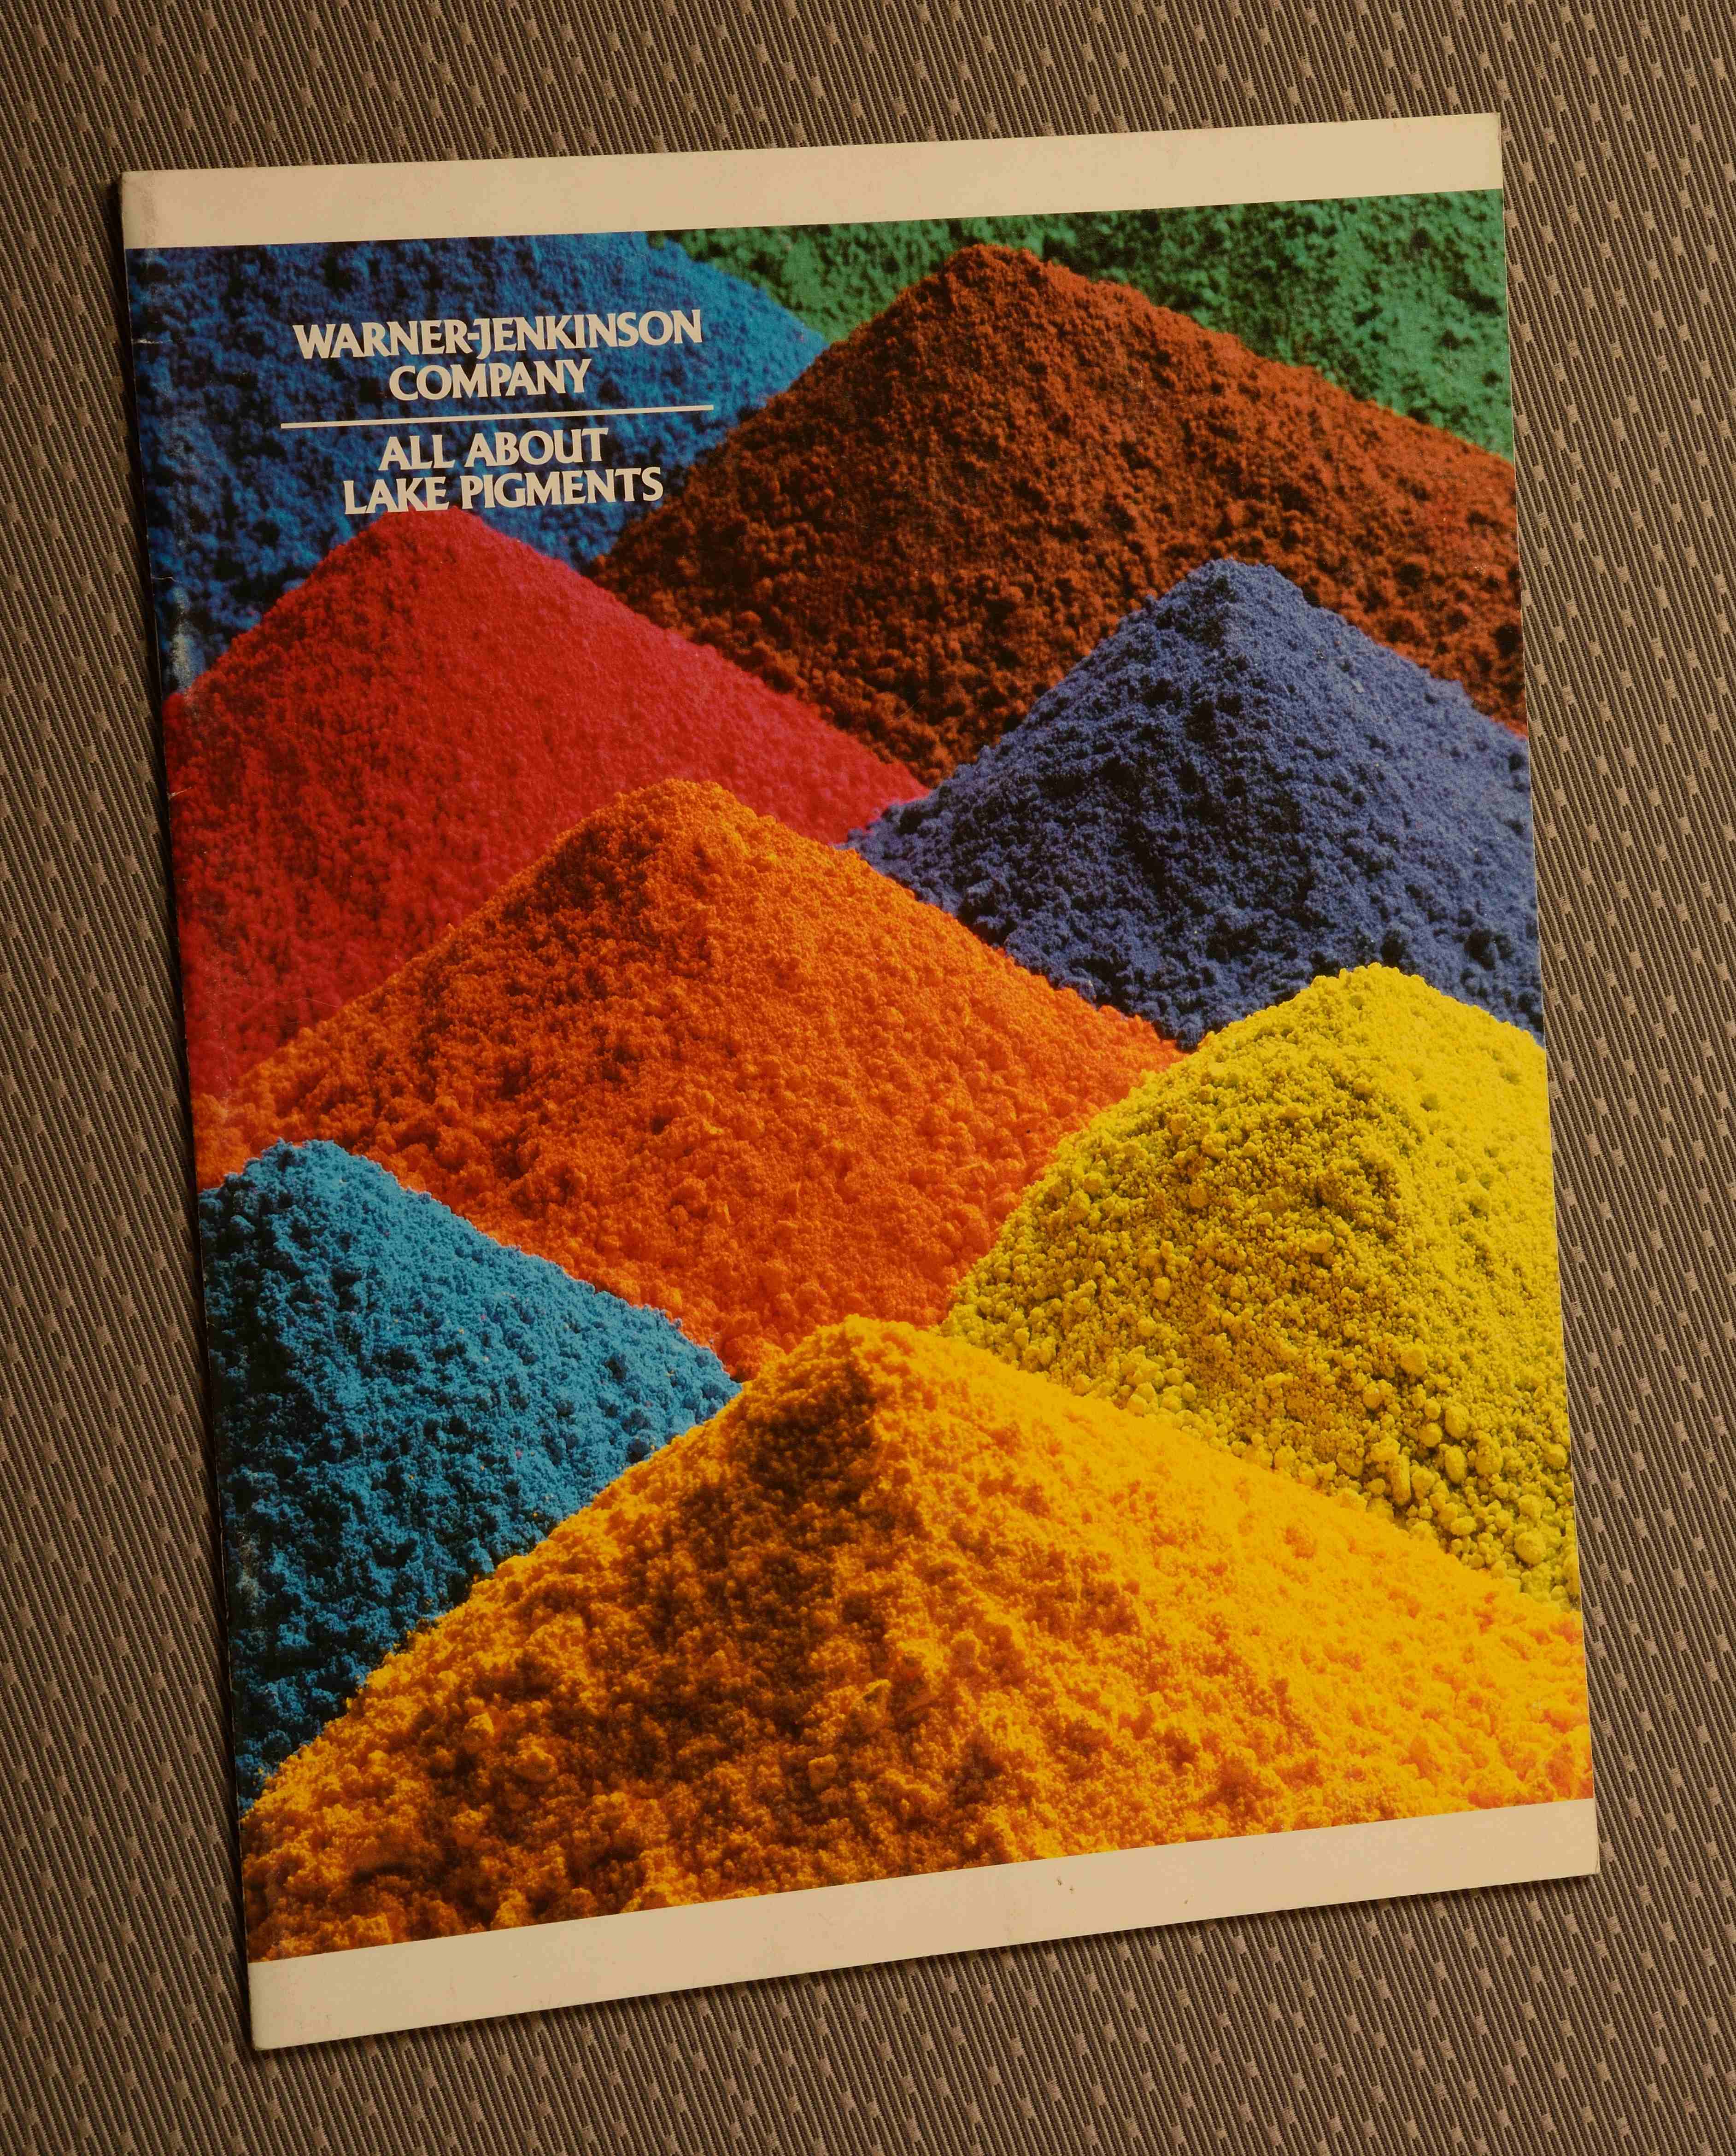
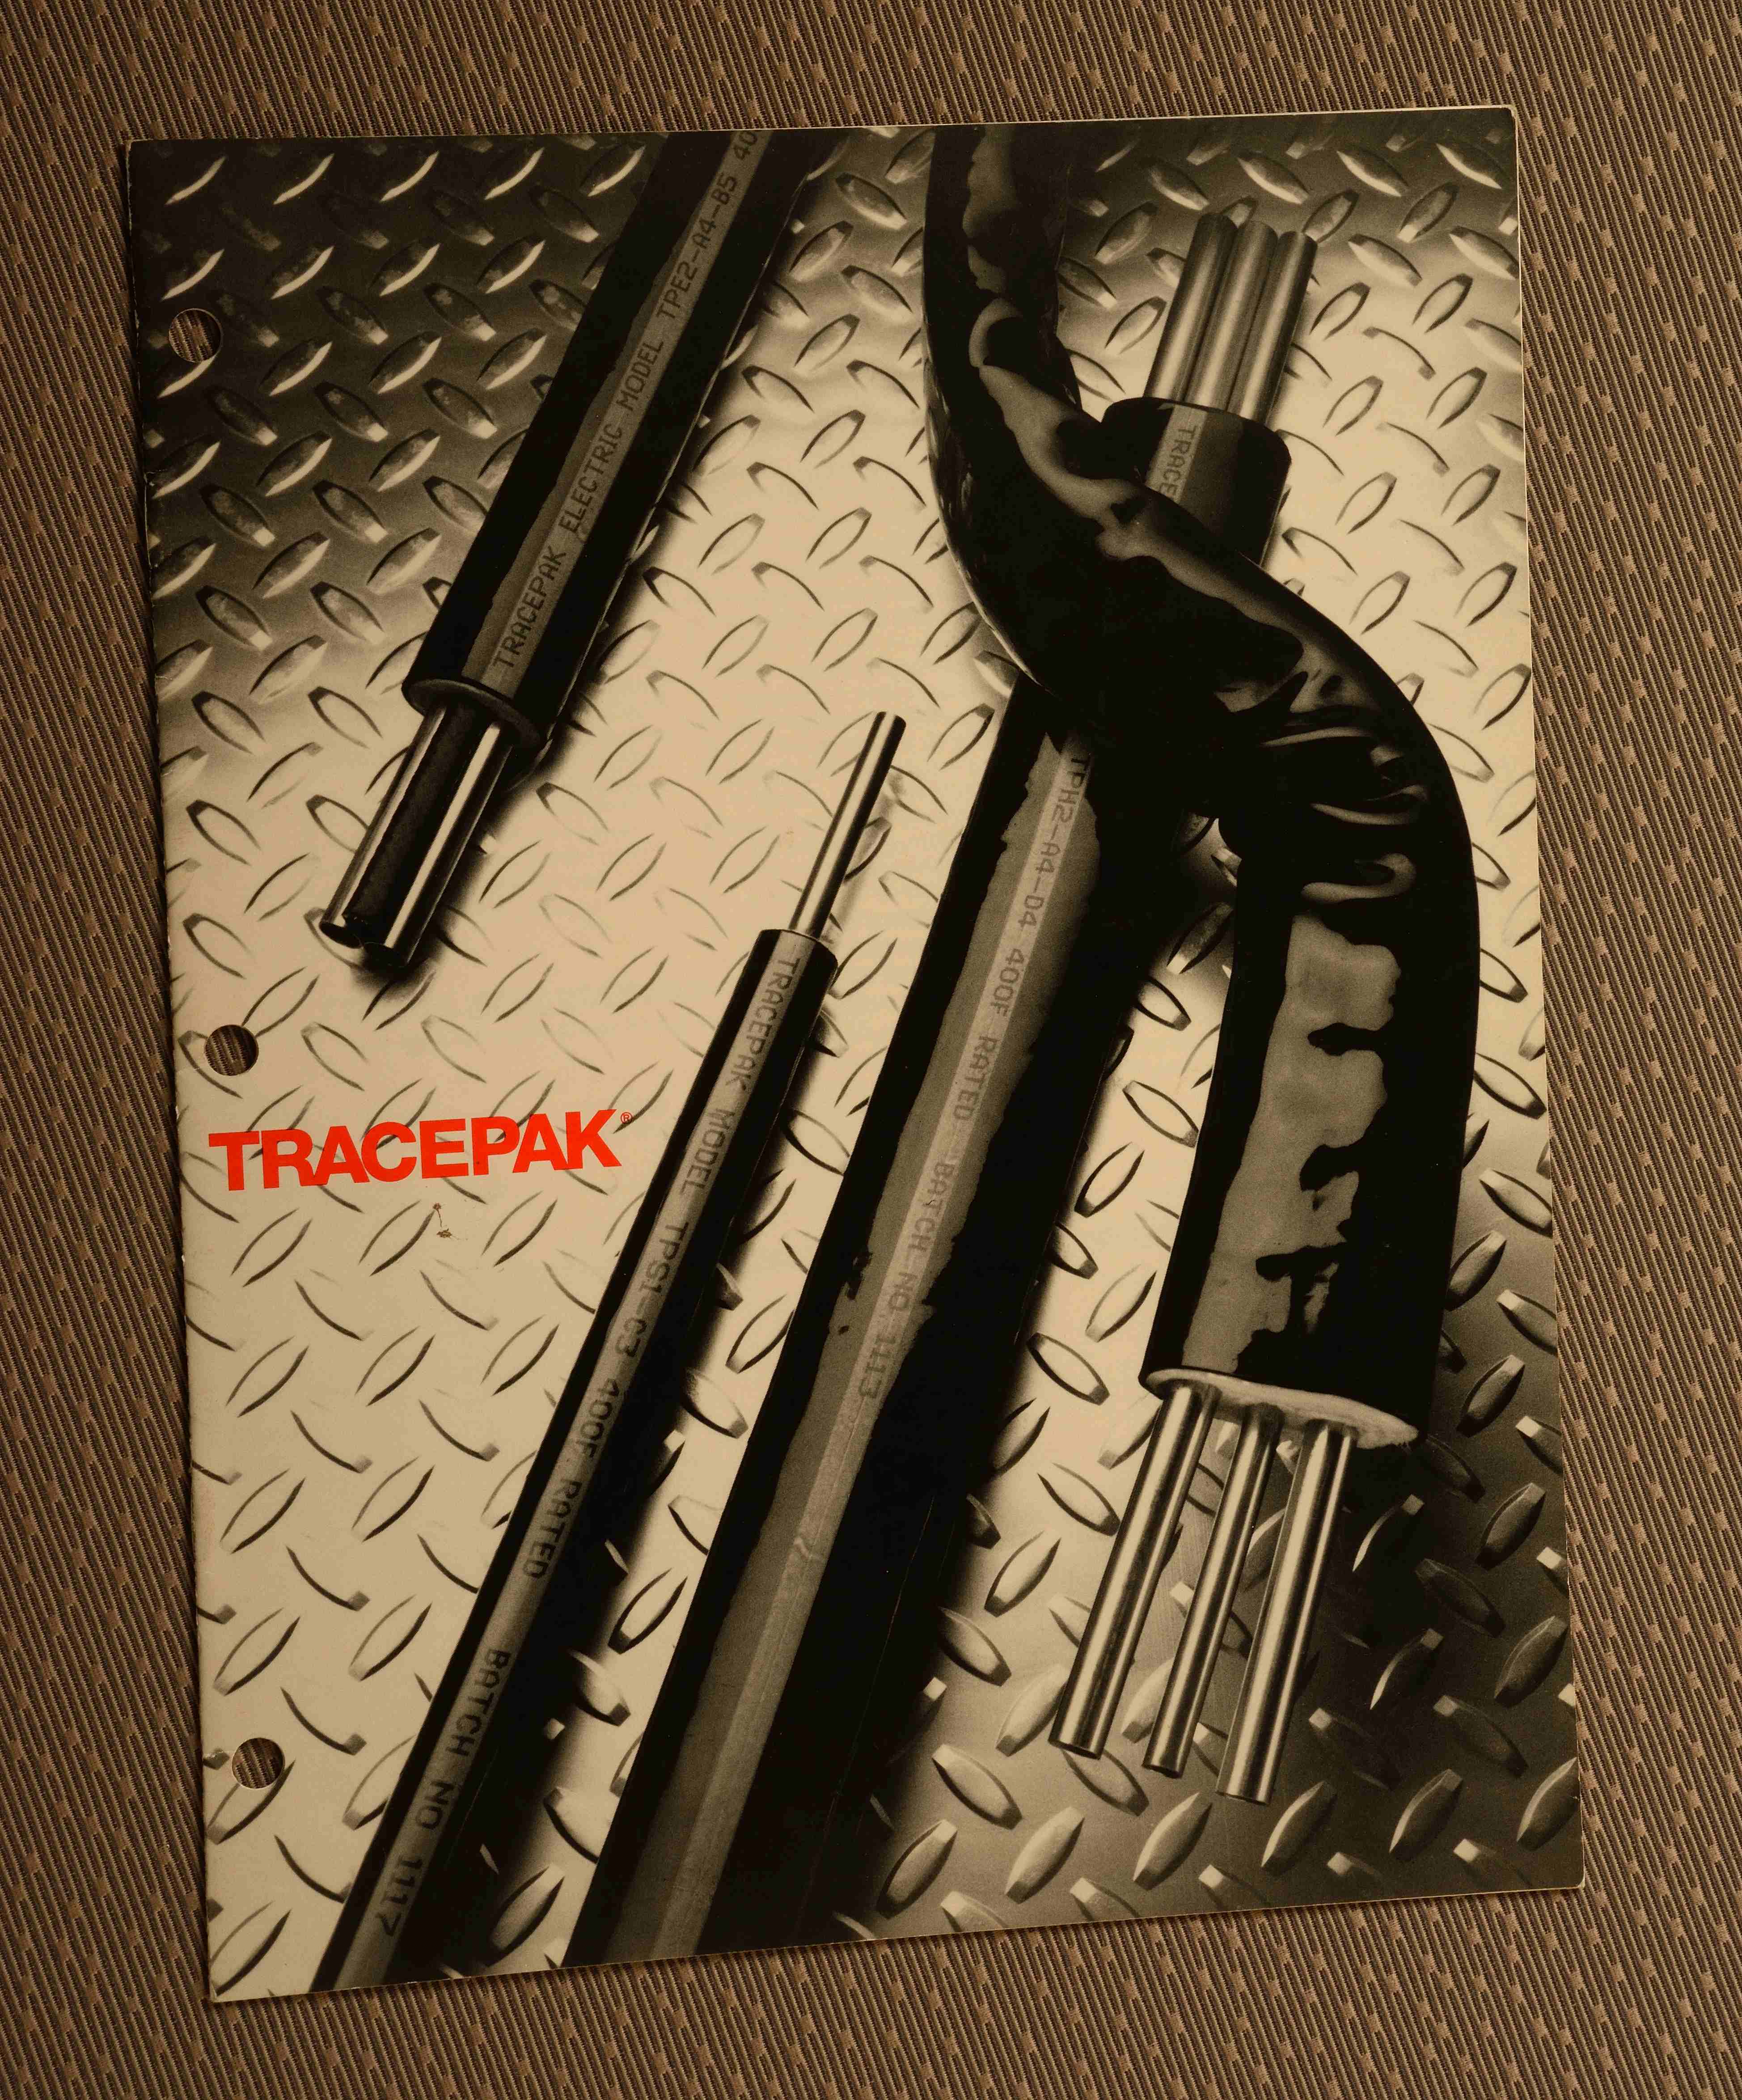
3. What Types of Products Do You Photograph? We photograph a wide range of products, including but not limited to, electronics, fashion items, jewelry, food, furniture, and industrial equipment. We tailor our approach based on the specific requirements and characteristics of each product.
4. How Do You Ensure the Product Looks Its Best in Photos? We use professional lighting, high-resolution cameras, and specialized equipment to capture products in the best possible way. Our post-production process includes editing and retouching to correct any imperfections and enhance the overall appearance of the product.
5. Do You Provide On-Location Photography Services? Yes, we offer both studio and on-location photography services. Whether you need a controlled studio environment or want to showcase your products in a real-world setting, we can accommodate your needs.
6. How Long Does a Product Photography Session Take? The duration of a product photography session depends on the number and complexity of the products being photographed. A simple shoot may take a few hours, while a more extensive session could span a full day or more. We provide a detailed timeline after assessing the project scope.
7. What Are Your Rates for Product Photography? Our rates vary based on the project requirements, including the number of products, the complexity of the shoot, and the extent of post-production work needed. We offer competitive pricing and customized quotes to fit different budgets.
8. Can You Help with Styling and Props? Absolutely. We can assist with product styling and sourcing props to create the desired look and feel for your photos. Our goal is to ensure your products are presented in the most appealing and contextually appropriate manner.
9. What File Formats Do You Provide? We deliver high-resolution images in various file formats, including JPEG, PNG, TIFF, and others as needed. We ensure that the final images are optimized for your specific use cases, whether for print, web, or social media.
10. Do You Offer Post-Production Services? Yes, we provide comprehensive post-production services, including color correction, retouching, background removal, and image enhancement. Our editing team ensures that the final images meet your exact specifications.
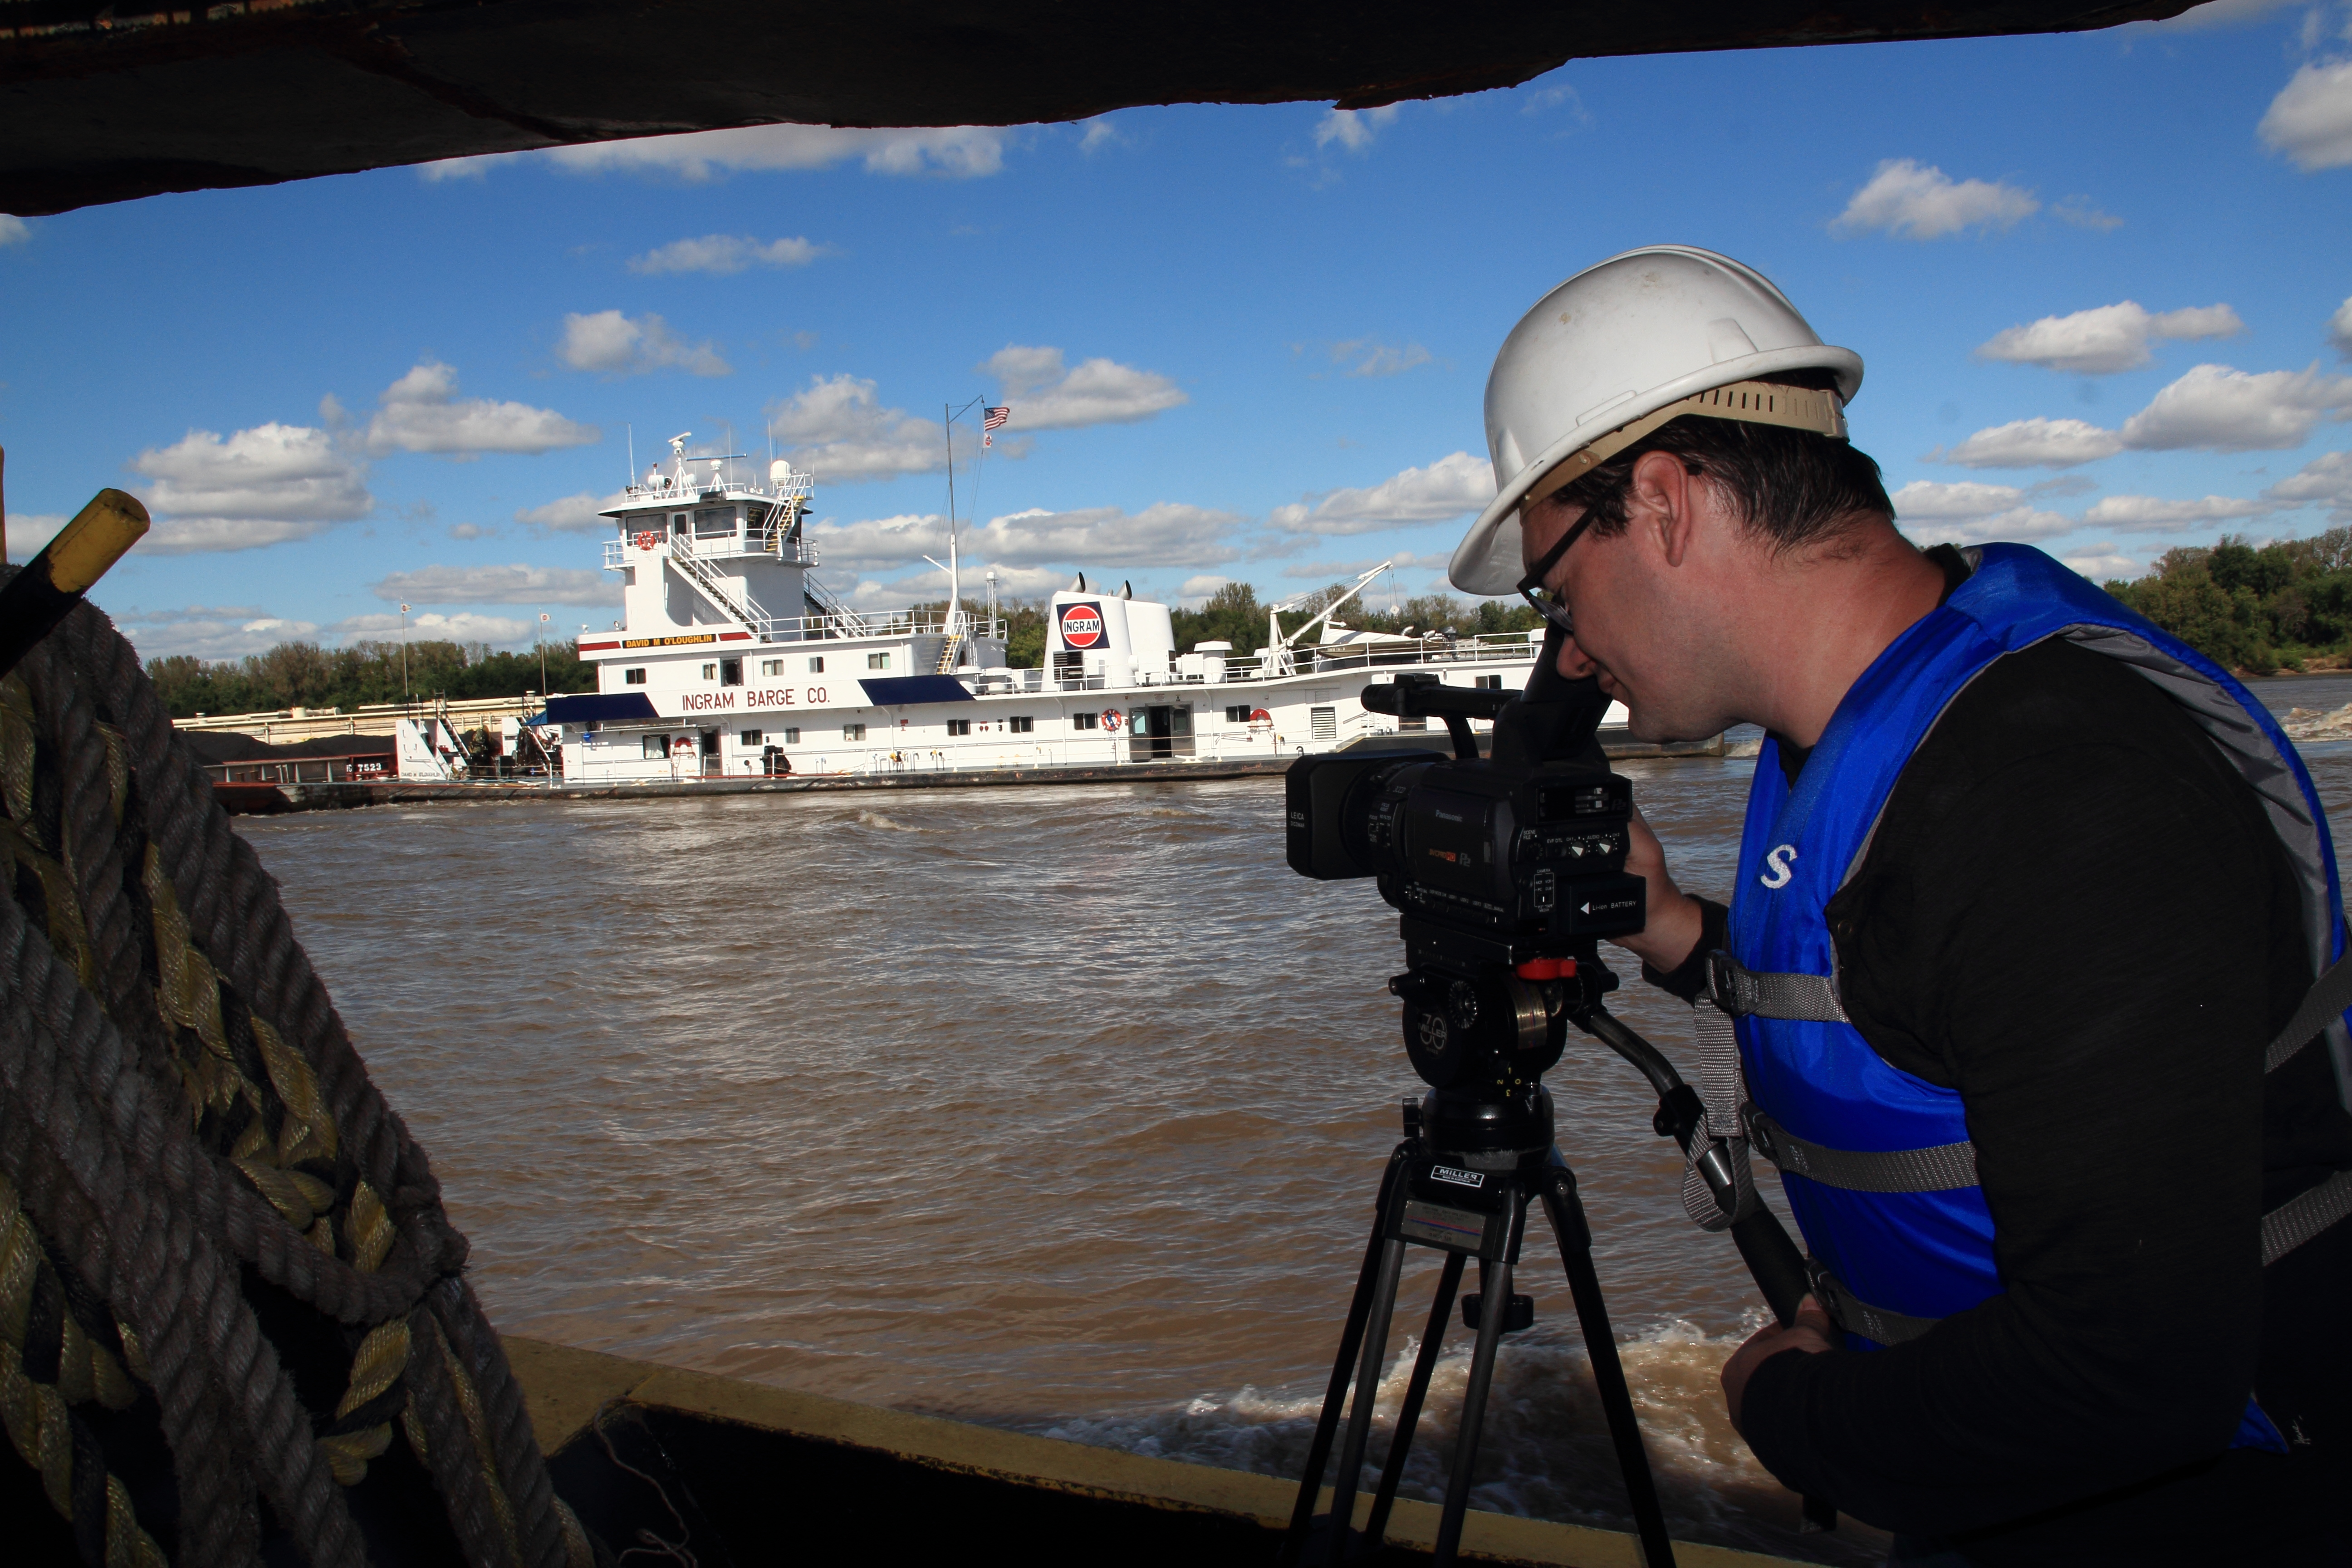
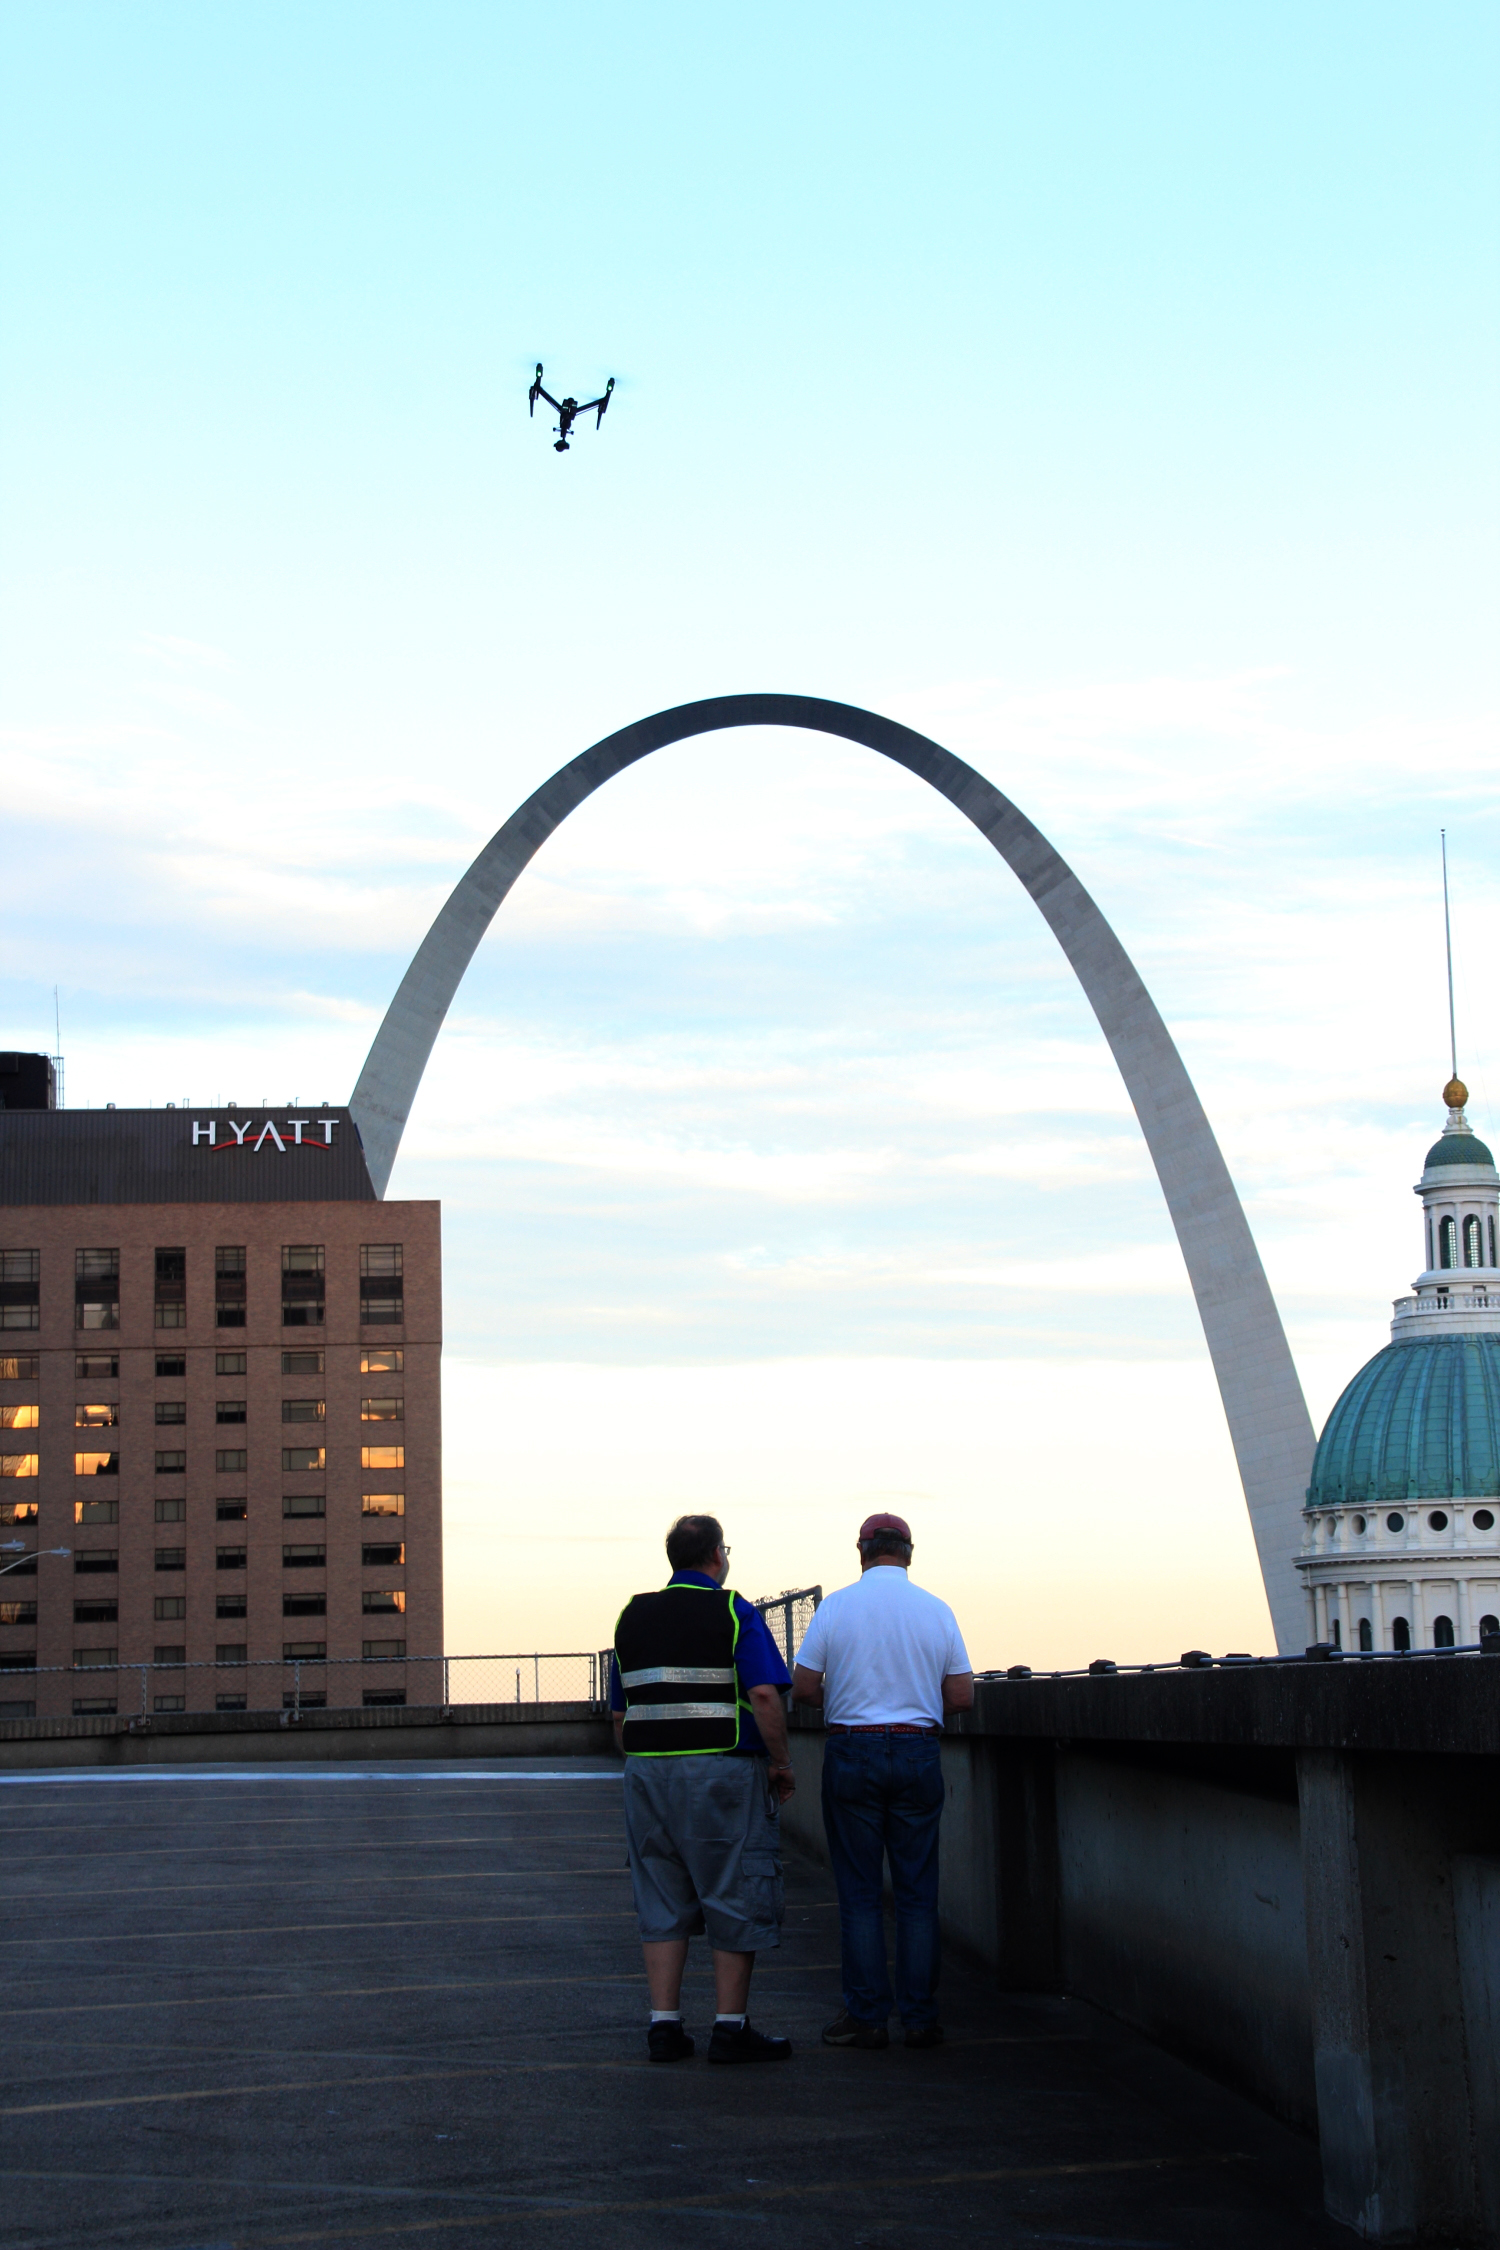
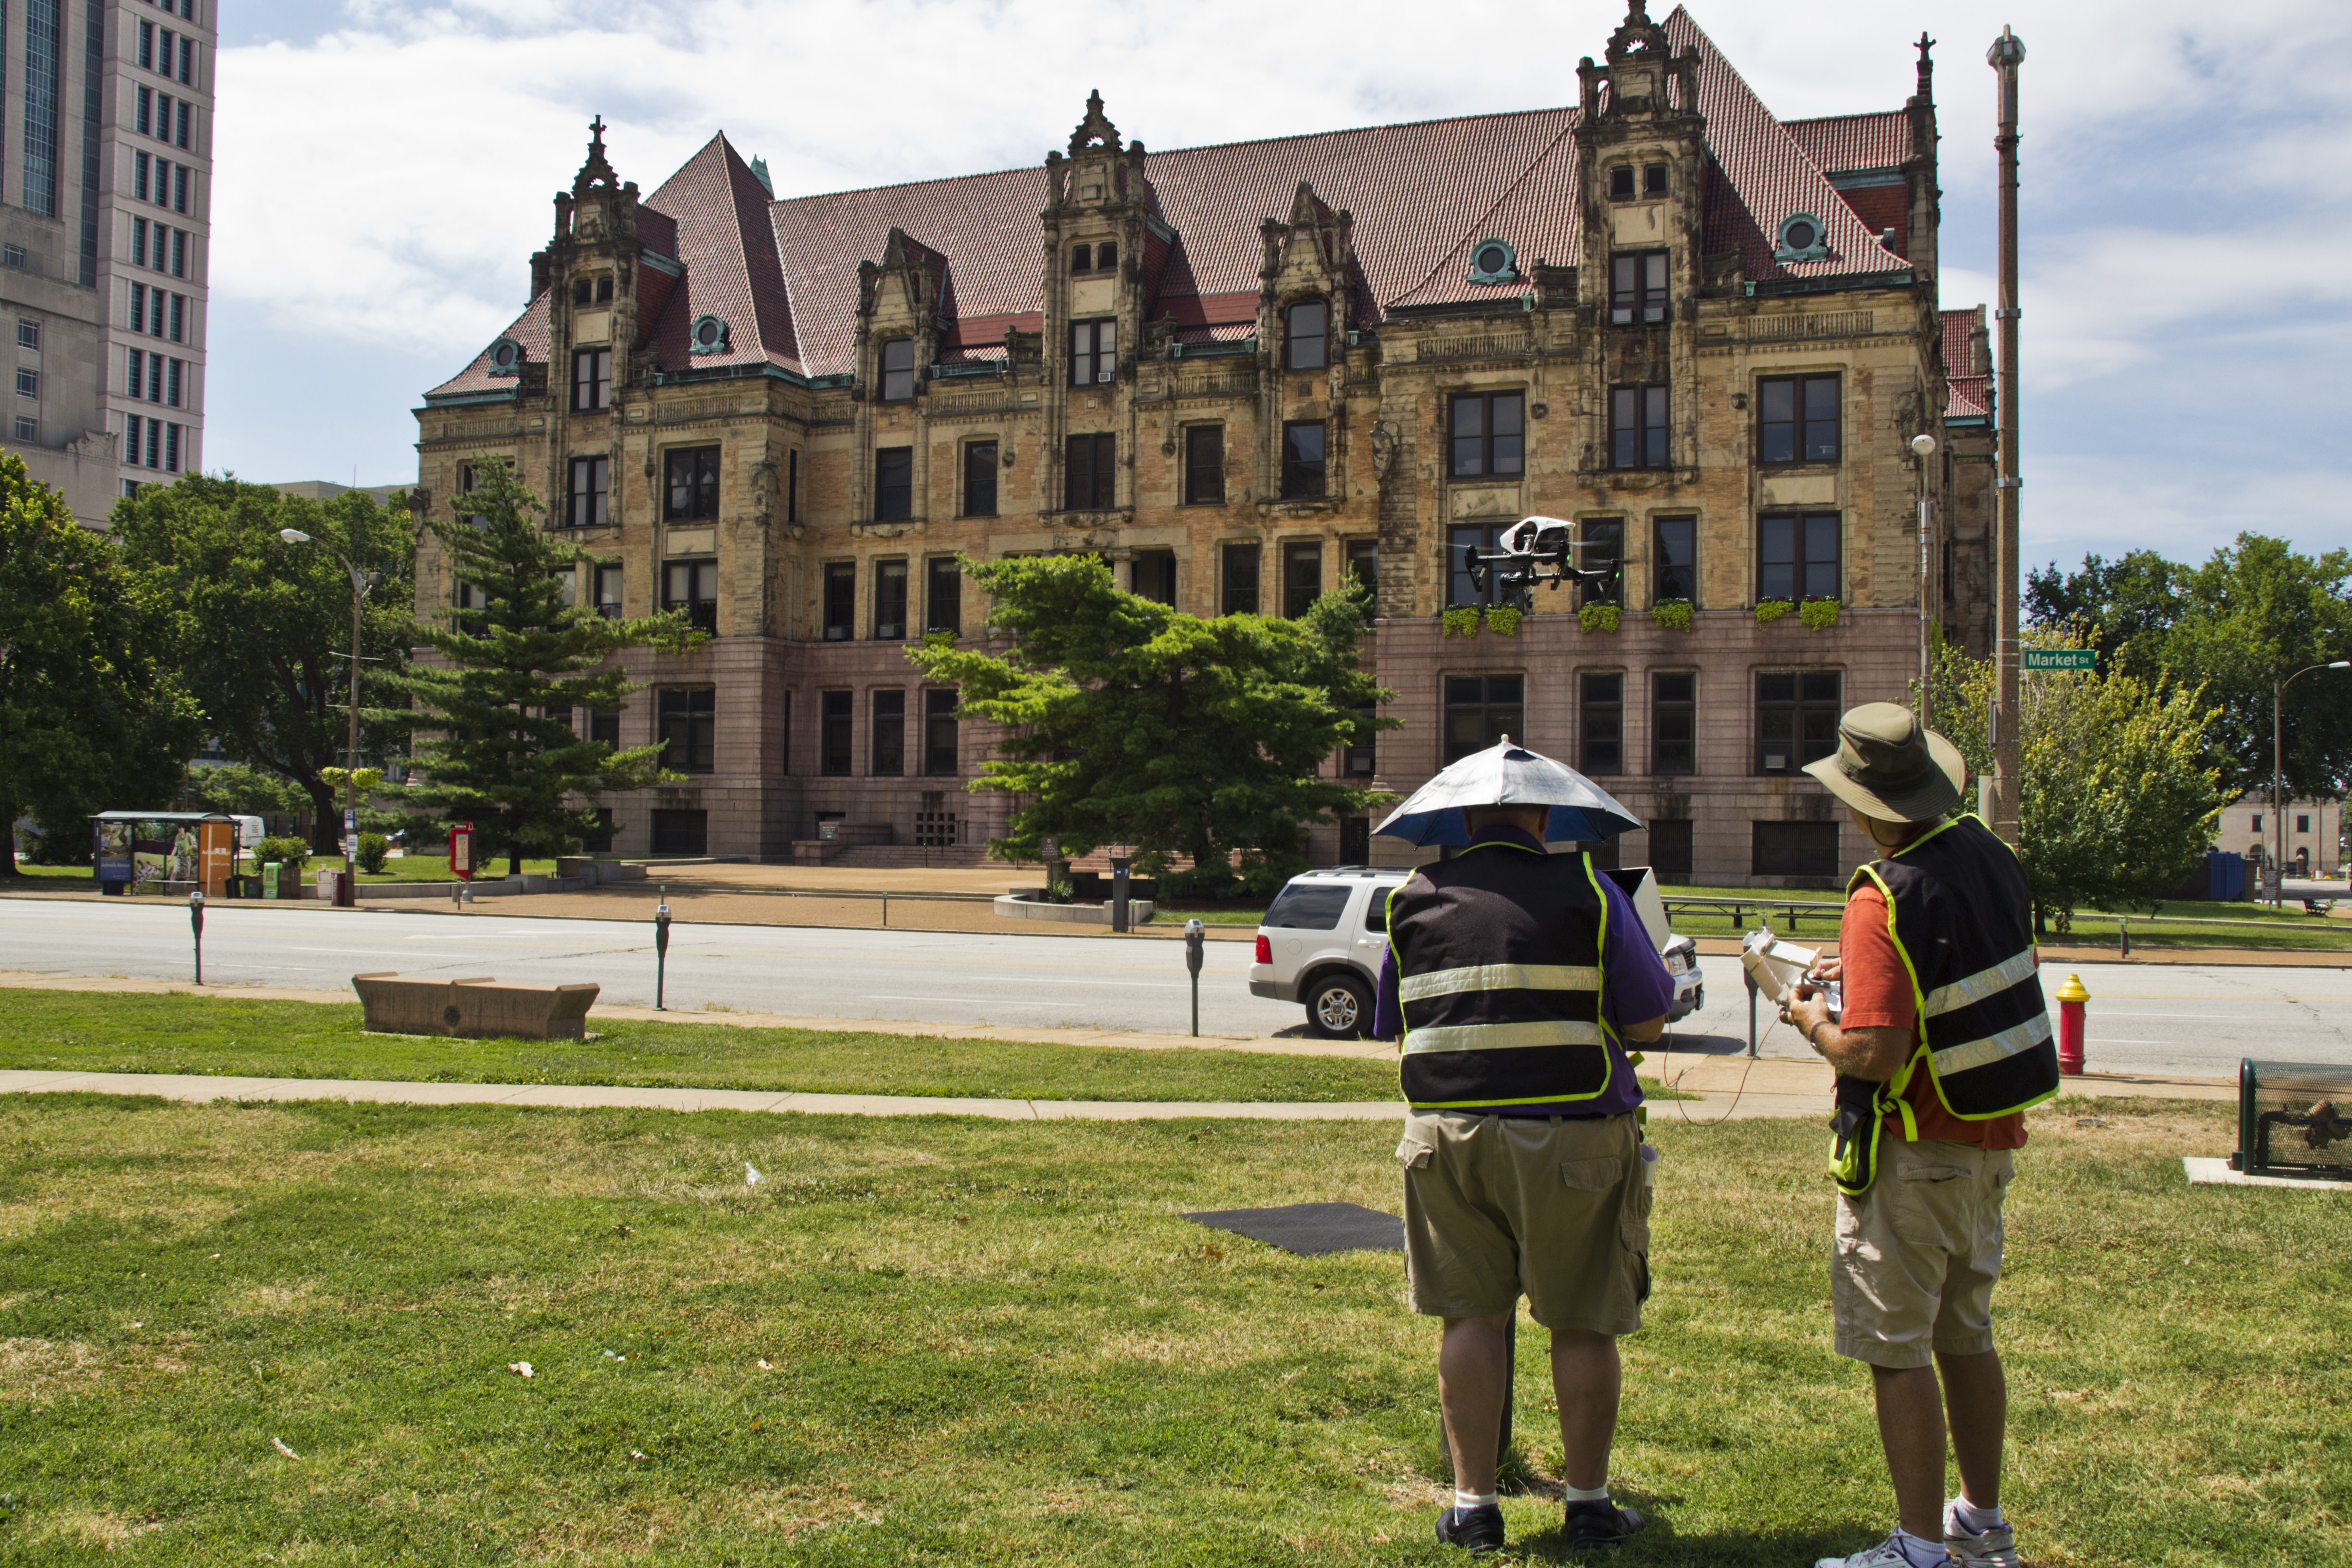
At St Louis Photographers, we are a full-service professional commercial photography and video production company with the right equipment and creative crew to ensure successful image acquisition. We offer comprehensive studio and location video and photography services, as well as editing, post-production, and licensed drone pilots. Our team can customize productions to meet diverse media requirements and specialize in repurposing photography and video branding for greater traction.
We are well-versed in all file types and styles of media and the accompanying software. Our private studio setup is ideal for small productions and interview scenes, and it is large enough to incorporate props to round out your set. We provide everything from a custom interview studio setup to sound and camera operators, and our specialized drones can even be flown indoors.
As a full-service video and photography production company, St Louis Photographers has worked with many businesses, marketing firms, and agencies in the St. Louis area for their corporate photography and video needs. Our extensive experience and dedication to quality ensure that your next video production will be perfect.
In the realm of commercial photography, capturing the essence of a product is a nuanced art. Whether it’s for e-commerce platforms, marketing campaigns, or catalogues, the imagery used to showcase products plays a pivotal role in shaping consumer perception and driving sales. As a full-service professional commercial photography and video production company, St Louis Corporate Photographers understands the importance of choosing the right setting for product photography. In this article, we delve into the variations of product photography shooting on location versus in a studio, exploring the unique benefits and considerations of each approach.
For lifestyle products or brands seeking to evoke a sense of authenticity and relatability, on-location photography may be the preferred option.
Location Photography: Capturing Authenticity
Shooting product photography on location offers a plethora of opportunities to infuse authenticity and context into the imagery. Whether it’s a bustling city street, a serene natural landscape, or a trendy urban setting, the environment can serve as a compelling backdrop that enhances the story of the product.
One of the primary advantages of location photography is the ability to leverage natural light to create stunning visuals. The interplay of sunlight, shadows, and ambient surroundings can imbue the images with a sense of warmth and realism that is often difficult to replicate in a studio setting. Moreover, capturing products in real-world scenarios can help potential customers visualize how the product fits into their lifestyle, fostering a deeper connection and driving engagement.
However, shooting on location also presents its own set of challenges. Variables such as weather conditions, environmental distractions, and logistical constraints can impact the outcome of the shoot. As such, meticulous planning and flexibility are essential to ensure a seamless execution.
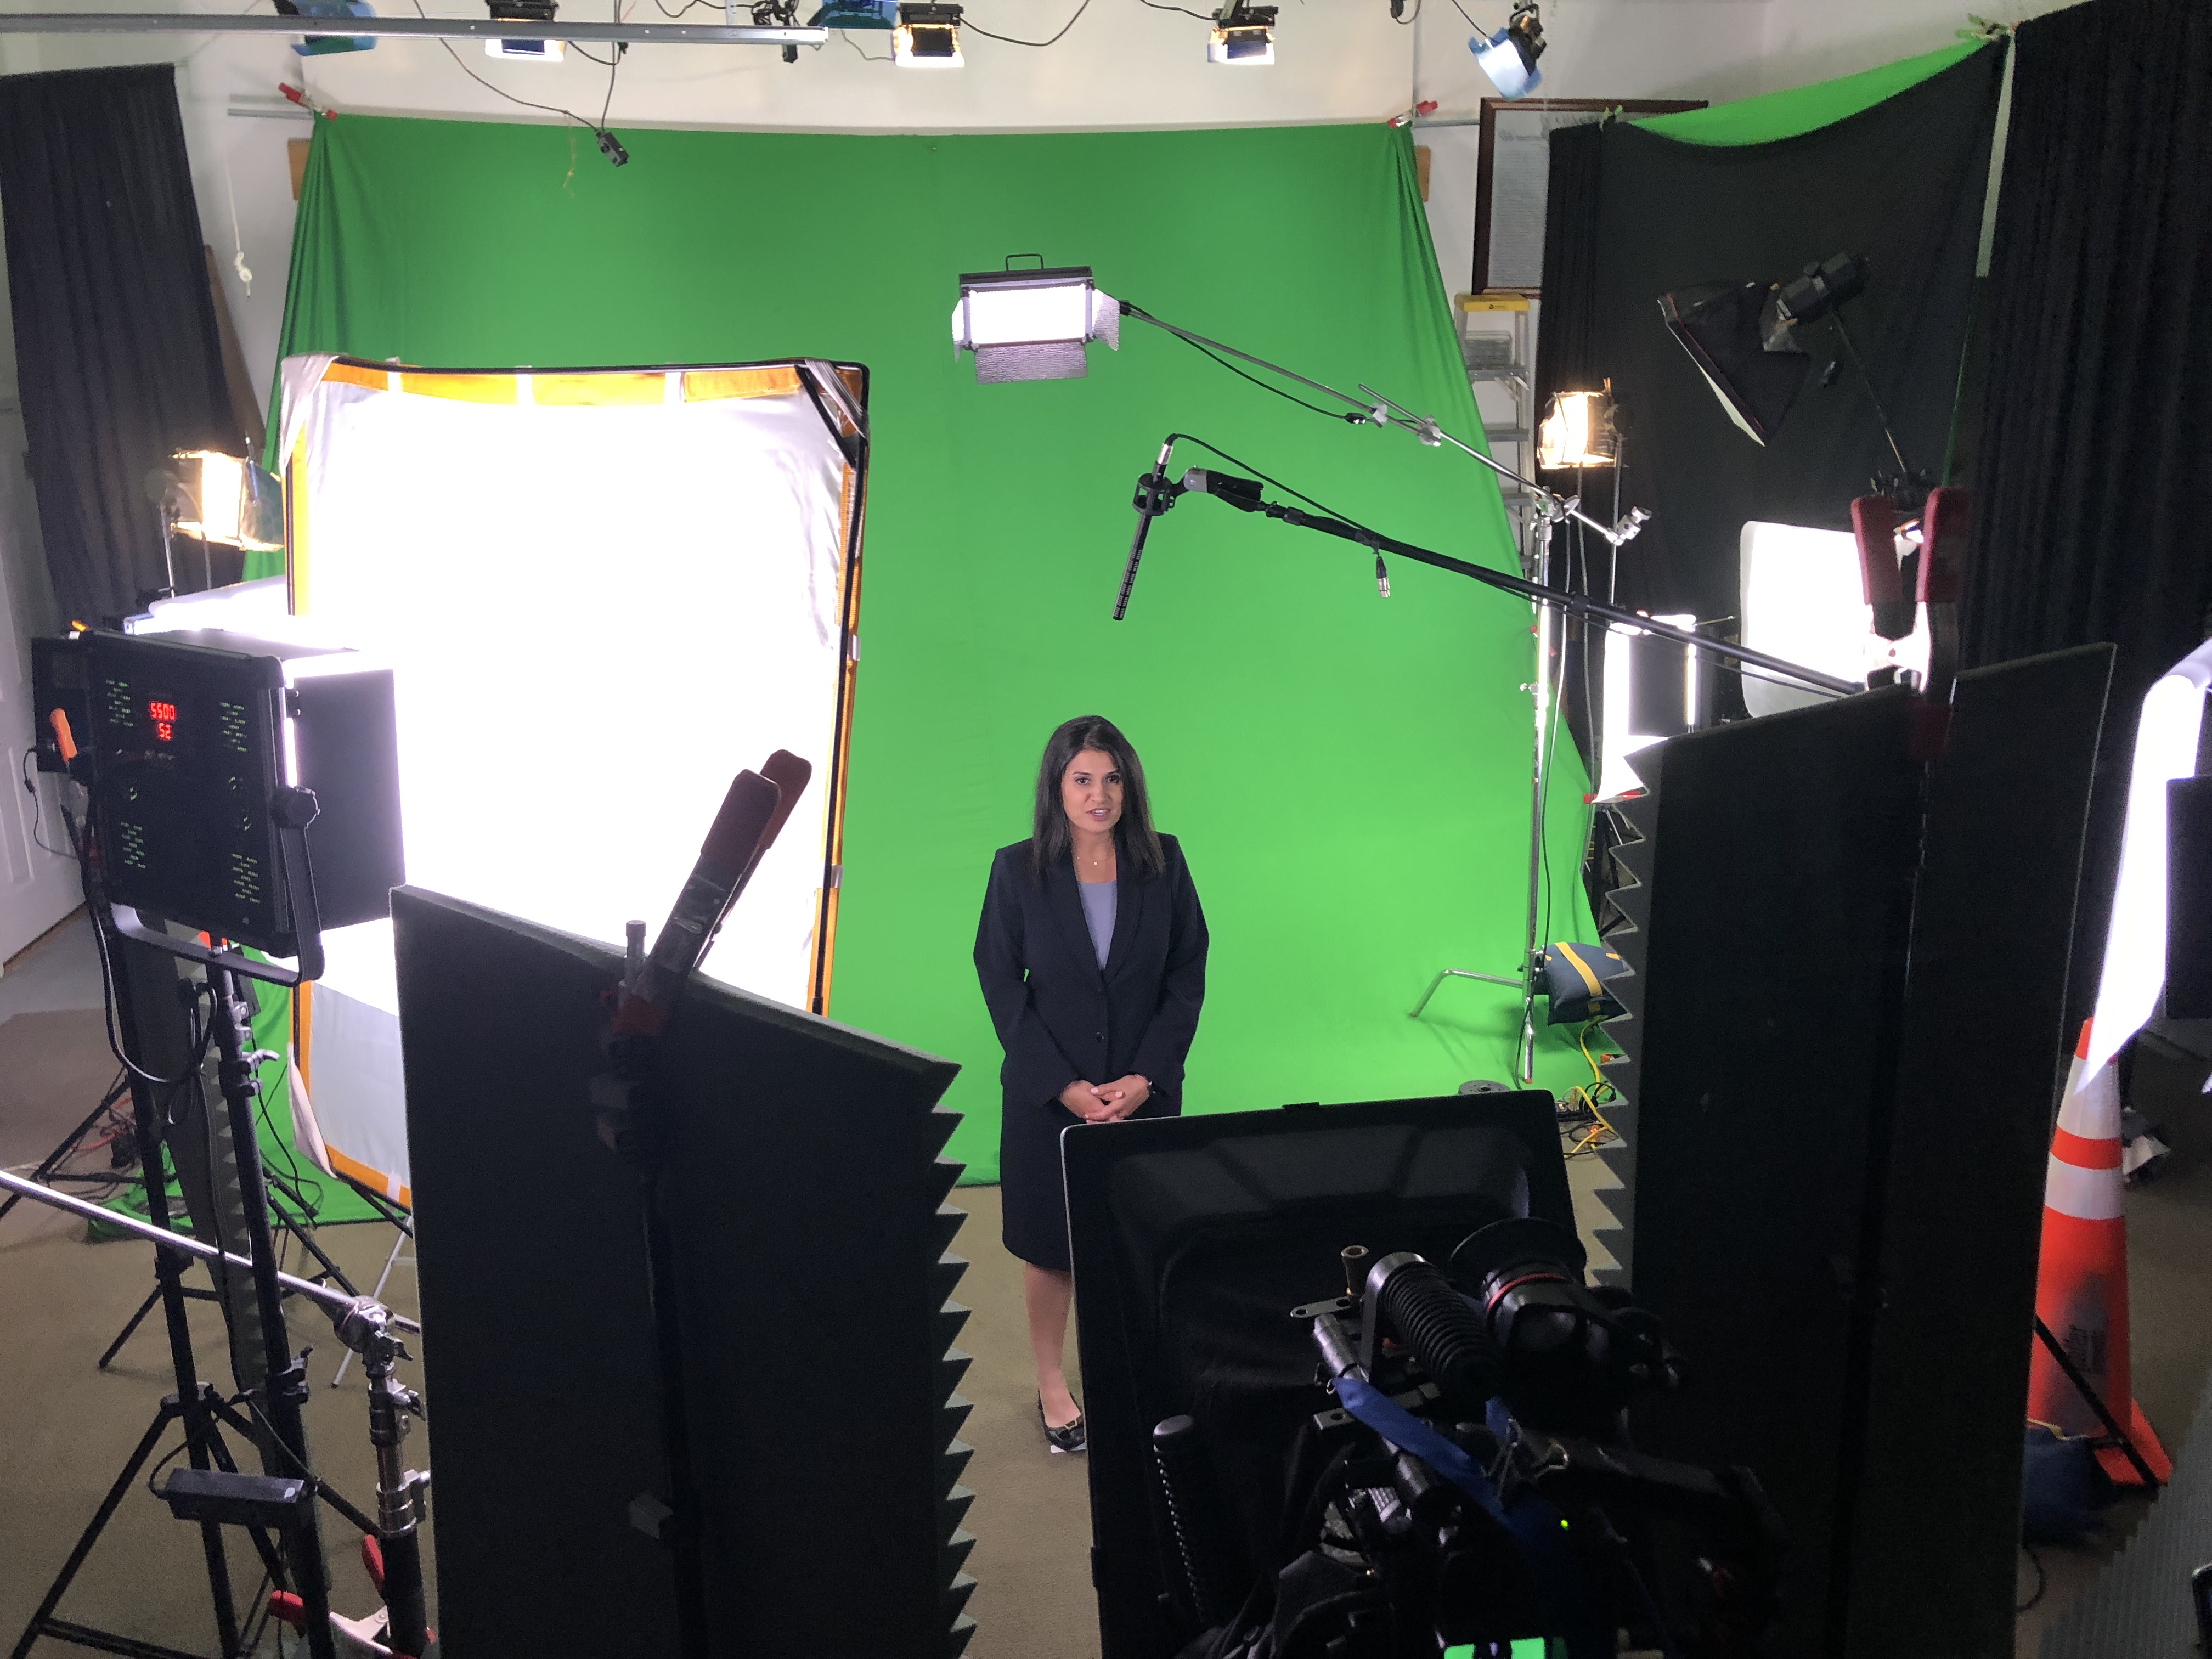
Studio Photography: Precision and Control
In contrast to location photography, shooting product imagery in a studio environment offers unparalleled control over every aspect of the shoot. From lighting and composition to props and backgrounds, every element can be meticulously curated to highlight the product in the best possible light.
One of the key advantages of studio photography is the ability to create consistent, high-quality imagery regardless of external factors. With a controlled environment free from distractions, photographers can focus solely on showcasing the product in its best light, quite literally. Additionally, studio setups are often equipped with a wide range of lighting equipment, modifiers, and backdrops, allowing for endless creative possibilities.
Moreover, studio photography offers greater flexibility in terms of scheduling and logistics. With everything conveniently located in one place, it’s easier to coordinate the shoot and make any necessary adjustments on the fly.
However, despite its advantages, studio photography may sometimes lack the authenticity and context that can be achieved through location shoots. Without the backdrop of real-world settings, the imagery may feel somewhat sterile or disconnected from the audience’s lived experiences.
Choosing the Right Approach
When it comes to choosing between on-location and studio product photography, there is no one-size-fits-all solution. Each approach offers its own unique benefits and considerations, and the optimal choice will depend on factors such as the nature of the product, the target audience, and the overall marketing strategy.
For lifestyle products or brands seeking to evoke a sense of authenticity and relatability, on-location photography may be the preferred option. By placing the product in real-world scenarios, marketers can create a narrative that resonates with consumers on a deeper level, fostering brand loyalty and trust.
On the other hand, for products that require precision and attention to detail, such as electronics or luxury goods, studio photography may be more appropriate. With complete control over the environment, photographers can showcase the product in exquisite detail, highlighting its craftsmanship and features with unparalleled clarity.
Conclusion
In conclusion, the choice between on-location and studio product photography ultimately boils down to the specific goals and requirements of the project. Whether you’re looking to capture the authenticity of a bustling city street or showcase the intricate details of a high-end product, St Louis Corporate Photographers is here to help. As a full-service video and photography production company, we have the expertise and creative vision to bring your vision to life. Contact us today to learn more about our services and how we can elevate your brand through stunning imagery.
As a full-service video and photography production company, St Louis Corporate Photographers has worked with many businesses, marketing firms, and agencies in the St. Louis area for their corporate photography and video. Contact us today to discuss your project needs and let us help you bring your vision to life.
Among the many enchanting lighting conditions, the “golden hour” holds a special place for photographers. Golden hour photography refers to the period shortly after sunrise and just before sunset when the sun is low on the horizon, casting a warm and soft glow across the landscape. This magical time offers an unparalleled opportunity to create visually captivating and emotionally evocative photographs. In this comprehensive guide, we will delve into the art of golden hour photography, providing you with tips, techniques, and insights to make the most out of this enchanting lighting.
To make the most of the golden hour, it’s essential to plan ahead and be at the desired location well before the magic begins.
Understanding the Golden Hour
The golden hour occurs twice a day, around sunrise and sunset, and is characterized by its soft, warm, and diffused light. During this time, the sun is at a low angle, passing through more of the Earth’s atmosphere, which scatters the harsher blue wavelengths and leaves the warm red, orange, and yellow tones dominant in the scene. This results in beautifully illuminated subjects with long, soft shadows that add depth and dimensionality to the photographs.
Golden Hour Timing
The exact timing of the golden hour can vary based on the geographical location and the time of year. In general, it occurs in the first hour after sunrise and the last hour before sunset. However, the duration can be shorter or longer, depending on the season and your proximity to the equator. To make the most of the golden hour, it’s essential to plan ahead and be at the desired location well before the magic begins.
Weather Considerations
While the golden hour is often associated with clear, cloudless skies, a partly cloudy sky can add drama and texture to your photographs. The interplay of light and shadow on the moving clouds can create breathtaking scenes. Keep an eye on weather forecasts, and don’t be discouraged by a few clouds; they might just enhance your images.
Tips for Golden Hour Photography
Capturing the essence of the golden hour requires both technical skill and creative vision. Here are some expert tips to help you make the most of this magical time:
1. Plan Ahead
Scout locations in advance and determine the best vantage points for your photography. Use apps or websites that can help you track the sunrise and sunset times for your specific location. Being prepared and arriving early at your chosen location will give you time to set up and compose your shots.
2. Use a Tripod
Shooting in low light conditions during the golden hour might require longer exposure times. To avoid camera shake and maintain sharpness in your images, use a sturdy tripod. This also enables you to take multiple shots with varying settings without changing the composition.
3. Choose the Right Settings
In manual mode, adjust your camera settings to control the exposure and achieve the desired effects. Start with a low ISO to reduce noise, a wide aperture (low f-stop) for a shallow depth of field and beautiful bokeh, and a slower shutter speed to allow more light into the camera.
4. Utilize Silhouettes
Create captivating silhouettes during the golden hour by positioning your subject against the bright background. Expose for the brighter elements in the frame, and your subject will appear as a striking dark shape against the warm, glowing sky.
5. Experiment with White Balance
The golden hour offers a beautiful warm color temperature naturally, but don’t be afraid to experiment with white balance settings. Adjusting the white balance can alter the mood of the photograph, making it cooler or warmer, depending on your artistic intent.
6. Compose with Leading Lines
Golden hour lighting accentuates leading lines, creating a strong sense of depth and guiding the viewer’s eyes through the photograph. Incorporate leading lines into your composition to add interest and draw attention to your subject.
7. Capture Reflections
If you’re near a body of water, take advantage of the golden hour’s soft light to capture stunning reflections. Calm waters can turn into mirrors, reflecting the rich colors of the sky and surroundings.
8. Embrace Lens Flares
When shooting directly into the sun during the golden hour, lens flares can add a dreamy and ethereal quality to your images. Use them strategically to enhance the mood and aesthetics of your photographs.
9. Shoot in Burst Mode
As the light changes rapidly during the golden hour, shooting in burst mode allows you to capture a series of shots with subtle variations in lighting and composition. This gives you more options to choose from during post-processing.
10. Post-Processing Magic
While capturing the magic of the golden hour is crucial, post-processing can enhance the beauty of your images further. Adjusting the contrast, saturation, and highlights can bring out the full potential of the warm, glowing light.
Conclusion
As you embark on your golden hour photography journey, remember that practice and experimentation are key to mastering this enchanting lighting. With the right preparation, technical know-how, and creative vision, you can create awe-inspiring photographs that evoke emotion and leave a lasting impression on your audience.
At St Louis Corporate Photographers, we are passionate about photography in all its forms, and the golden hour is one of our favorite times to capture mesmerizing images. As experienced photographers, we have created hundreds of photo productions for all types of large and small companies in the St. Louis region. Whether you need captivating images for your branding, marketing communications, or any other corporate needs, we are here to help.
Contact St Louis Corporate Photographers today to discuss how we can bring your vision to life with our full-service photography studio. From production and formatting to editing and multimedia services, we are well-versed in all aspects of photography and video production. Let us be your partner in creating stunning visuals that elevate your brand and make a lasting impact on your audience.
Capture the magic of the golden hour with St Louis Corporate Photographers and elevate your brand’s visual storytelling!
Start organizing your photos today and enjoy the benefits of a streamlined and accessible media library.
In today’s digital age, organizing photos in your corporate media department has become essential for efficient workflow and easy retrieval of visual assets. Whether you rely on AI software or smart culling techniques, here are some of the best ways to streamline your photo organization process.
Delete Unnecessary Photos When dealing with digital photos, it’s crucial to eliminate clutter by deleting unnecessary images. Consider removing photos that fall under the following categories:
a) Duplicates: Similar-looking photos that serve no purpose in your collection. b) Bad photos: Out-of-focus shots, accidental snapshots, poorly composed images, or unflattering pictures should be discarded or moved to an outtakes folder. c) Non-photo files: Memes, irrelevant graphics, and random files that accidentally find their way into your archive should be removed during the culling process.
Remember, if you’re uncertain about certain photos, postpone their deletion. Sorting through older images first can provide you with a fresh perspective, making it easier to objectively evaluate newer photos.
Efficient Photo Culling Culling, the process of sorting through photographs and selecting the best ones, is a vital step in organizing your media library. Consider utilizing software programs that facilitate this task, such as:
a) Adobe Lightroom b) Photo Mechanic c) ACDSee Photo Studio Ultimate d) AfterShoot
Experiment with different programs to find the one that suits your needs and simplifies your workflow.
Establish a Photo Organization Schedule Organizing photos can be time-consuming, especially when dealing with a large volume of images. To avoid overwhelming yourself and ensure consistent organization, create a schedule for sorting your photos. Some photographers prefer organizing their images monthly, while others do it every two months. Establish a specific date or interval that works for you, making it easier to stay on top of your photo organization, regardless of your busy schedule.
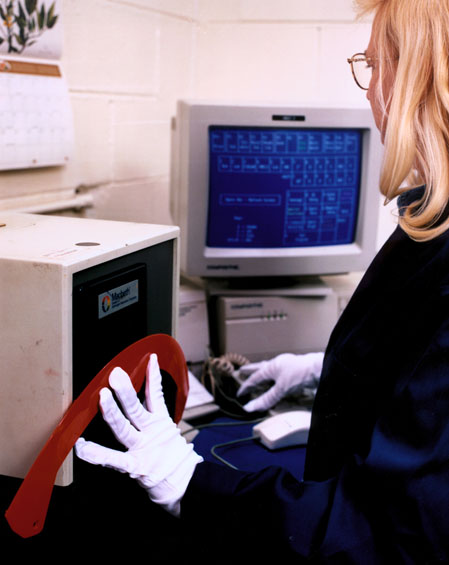
Leverage AI Software for Time Savings If time constraints prevent you from manually culling and deleting photos, consider using AI software to automate the process. AI-powered tools, like Excire, can swiftly analyze and categorize your photos, enabling you to organize them efficiently within a short period. Excire also offers features like automatic identification of bad photos and object detection, enhancing the searchability of your collection.
Thoughtful Folder Structure Creating a well-designed folder structure is crucial for efficient photo organization. Avoid simply dumping all photos into a generic “Archive” folder, as it can lead to digital clutter. Instead, tailor your folder structure to your specific needs as a corporate media department. Here are some organizational ideas:
a) By Date: Follow the approach used by smartphone camera rolls, creating albums or folders for each month or year. b) By Project: If you frequently work on projects, such as weddings or collaborations, create dedicated folders for each project. Consider adding sub-folders for different stages or timeframes within each project. c) By Location: If location is important to your work, organize photos based on the places they were taken. Create folders for cities or regions you frequently visit for easy searching later on. d) For Printing: To facilitate printing or photo album creation, keep a separate folder for photos you intend to print or store in physical format.
Reliable Online Storage Solutions To avoid overburdening your computer’s storage capacity, consider using external drives or cloud-based storage platforms for your photo collection. Here are some popular cloud storage options:
a) Google Photos: Ideal for quick photo locating and editing. b) Google Drive: Suitable for storing various media files, including photos, videos, documents, and more. c) Dropbox: Known for its user-friendly interface and offering substantial storage space for premium users. d) Amazon App: If you’re an Amazon Prime user, the Amazon Photos app can be a convenient option, although it has limited free storage. e) SmugMug: This platform offers more than just storage; it provides an all-in-one photo website management system with storage, sharing, and an easy-to-use sales platform.
To ensure the safety of your photos, it’s recommended to store them on an external hard drive while also using a cloud backup service like Dropbox. This way, even if your external hard drive is lost or damaged, you’ll have a backup copy of your images.
Organizing Printed Photos When dealing with printed photos, it’s important to handle them with care to preserve their quality and longevity. Here are some tips for organizing printed photos:
a) Use high-quality photo paper: Opt for professional-grade photo paper to enhance the viewing experience and make the storing process easier.
b) Label your photos: For a large number of printed photos, write the date, location, and other important information on the back of each photo using an acid-free pen or pencil.
c) Store in acid-free envelopes: Use acid-free envelopes to provide an extra layer of protection for your printed photos. Store multiple photos from the same date or location in the same envelope.
d) Consider photo boxes or albums: Use photo boxes or albums to store and organize your printed photos. Photo boxes are practical for easy access, while albums can be a great option if you have a larger number of photos to store.
e) Avoid humid areas and direct sunlight: Store your printed photos in a dry, cool environment away from direct sunlight to prevent damage from moisture and light exposure.
Order Photo Books If you have a substantial collection of photos that you don’t want to print individually, creating a photo book can be a fantastic solution. Photo books offer a fun and personalized way to store and showcase your photos. They are durable and less fragile compared to individual prints, making them easy to store and share.
To create a photo book, design your layout and select a photo book website that suits your needs. Choose whether you prefer one photo per page or collages, depending on your aesthetic preferences. Many local and international companies offer affordable yet high-quality photo book printing services, such as Mixbook, Blurb, Photobook Genius, and MILK Books.
Remember to review the shipping regulations of each website before starting the book design process, as some companies may have geographical restrictions.
In conclusion, organizing your photos in your corporate media department is essential for efficient workflow and easy access to visual assets. By deleting unnecessary photos, utilizing AI software, establishing a schedule, and creating a thoughtful folder structure, you can effectively manage your digital collection. Additionally, take care of your printed photos by using high-quality paper, labeling them, and storing them properly. Consider ordering photo books for a professional and personalized way to store and share your photos. Start organizing your photos today and enjoy the benefits of a streamlined and accessible media library.
Our small, efficient team of professional commercial photographers include proficiencies as an advertising photographer, architectural photographer, industrial photographer, product photographer, corporate event photographer and more.
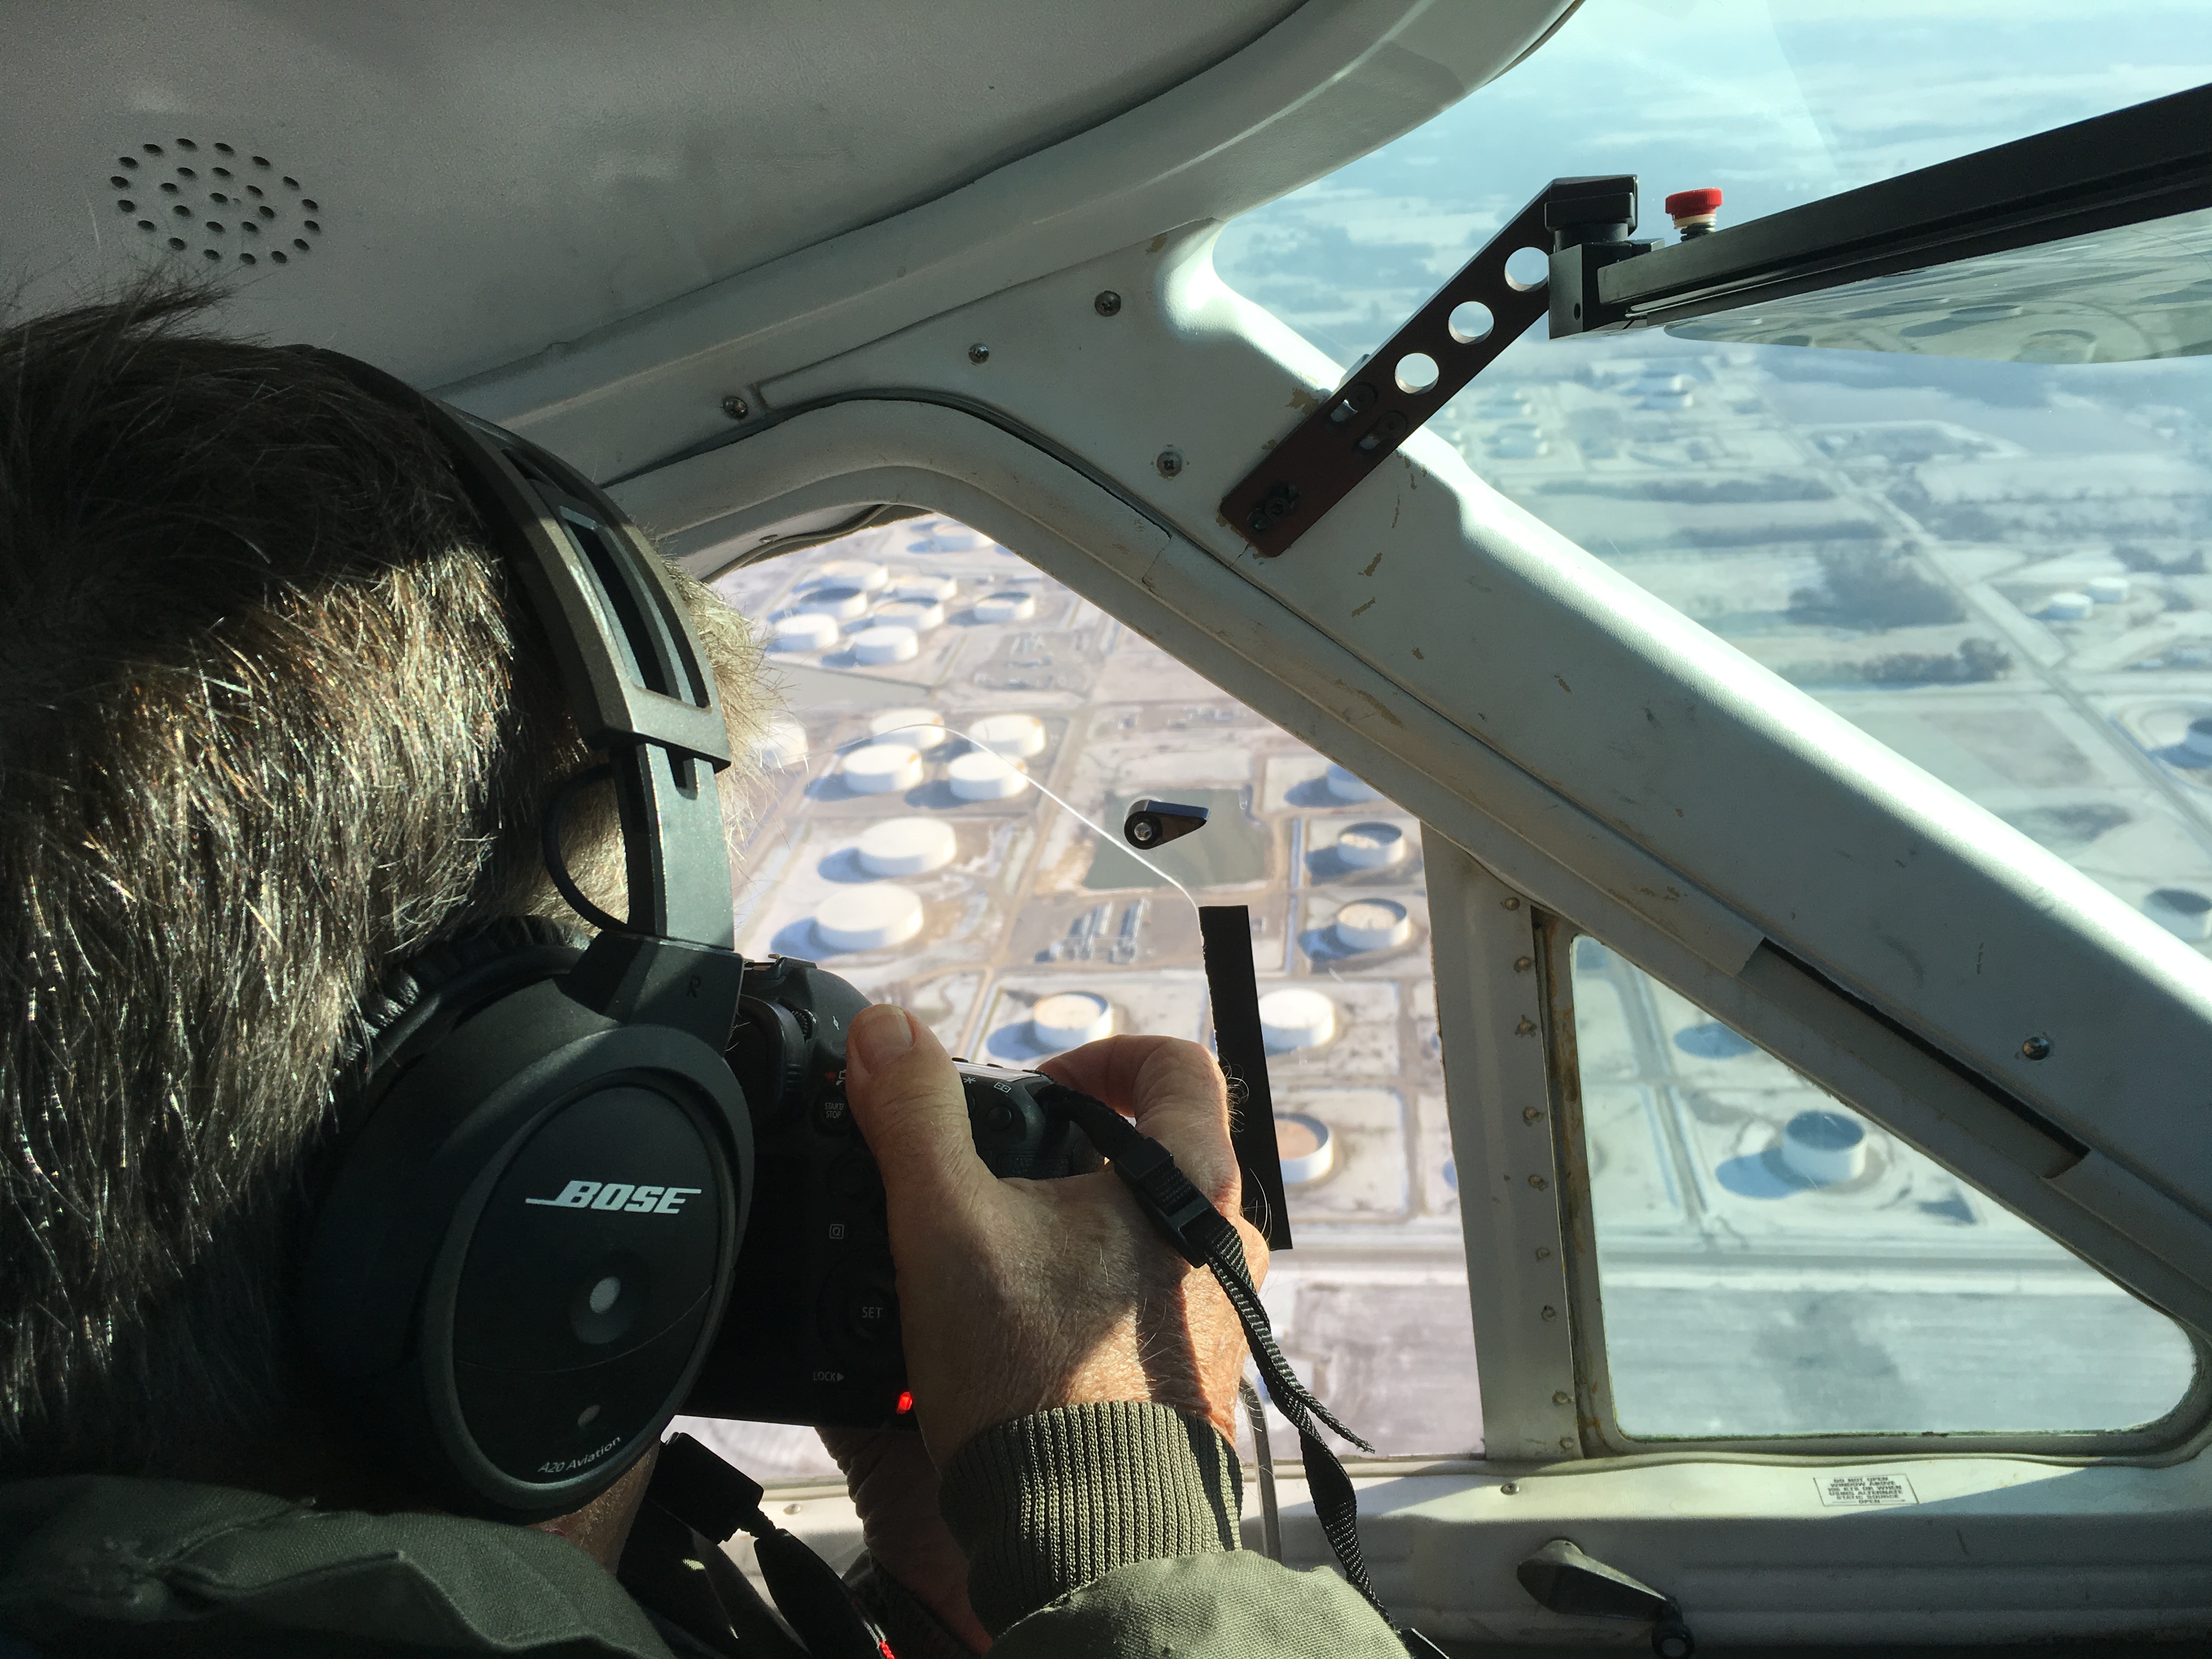
We specialize in shooting on location and have completed projects throughout the United States, Mexico and Canada.
We are focused on the unique needs of corporations, manufacturers, advertising agencies and marketing firms that rely on quality photography and specific commercial photographer skills.
We have the creative experience and resources to shoot photography projects of any size and complexity. In and out of the Saint Louis area.
314-892-1233
Mike Haller
4501 Mattis Road 63128
St Louis Photographer
St Louis, Missouri, USA | Photography services
mikeh@hallerconcepts.com
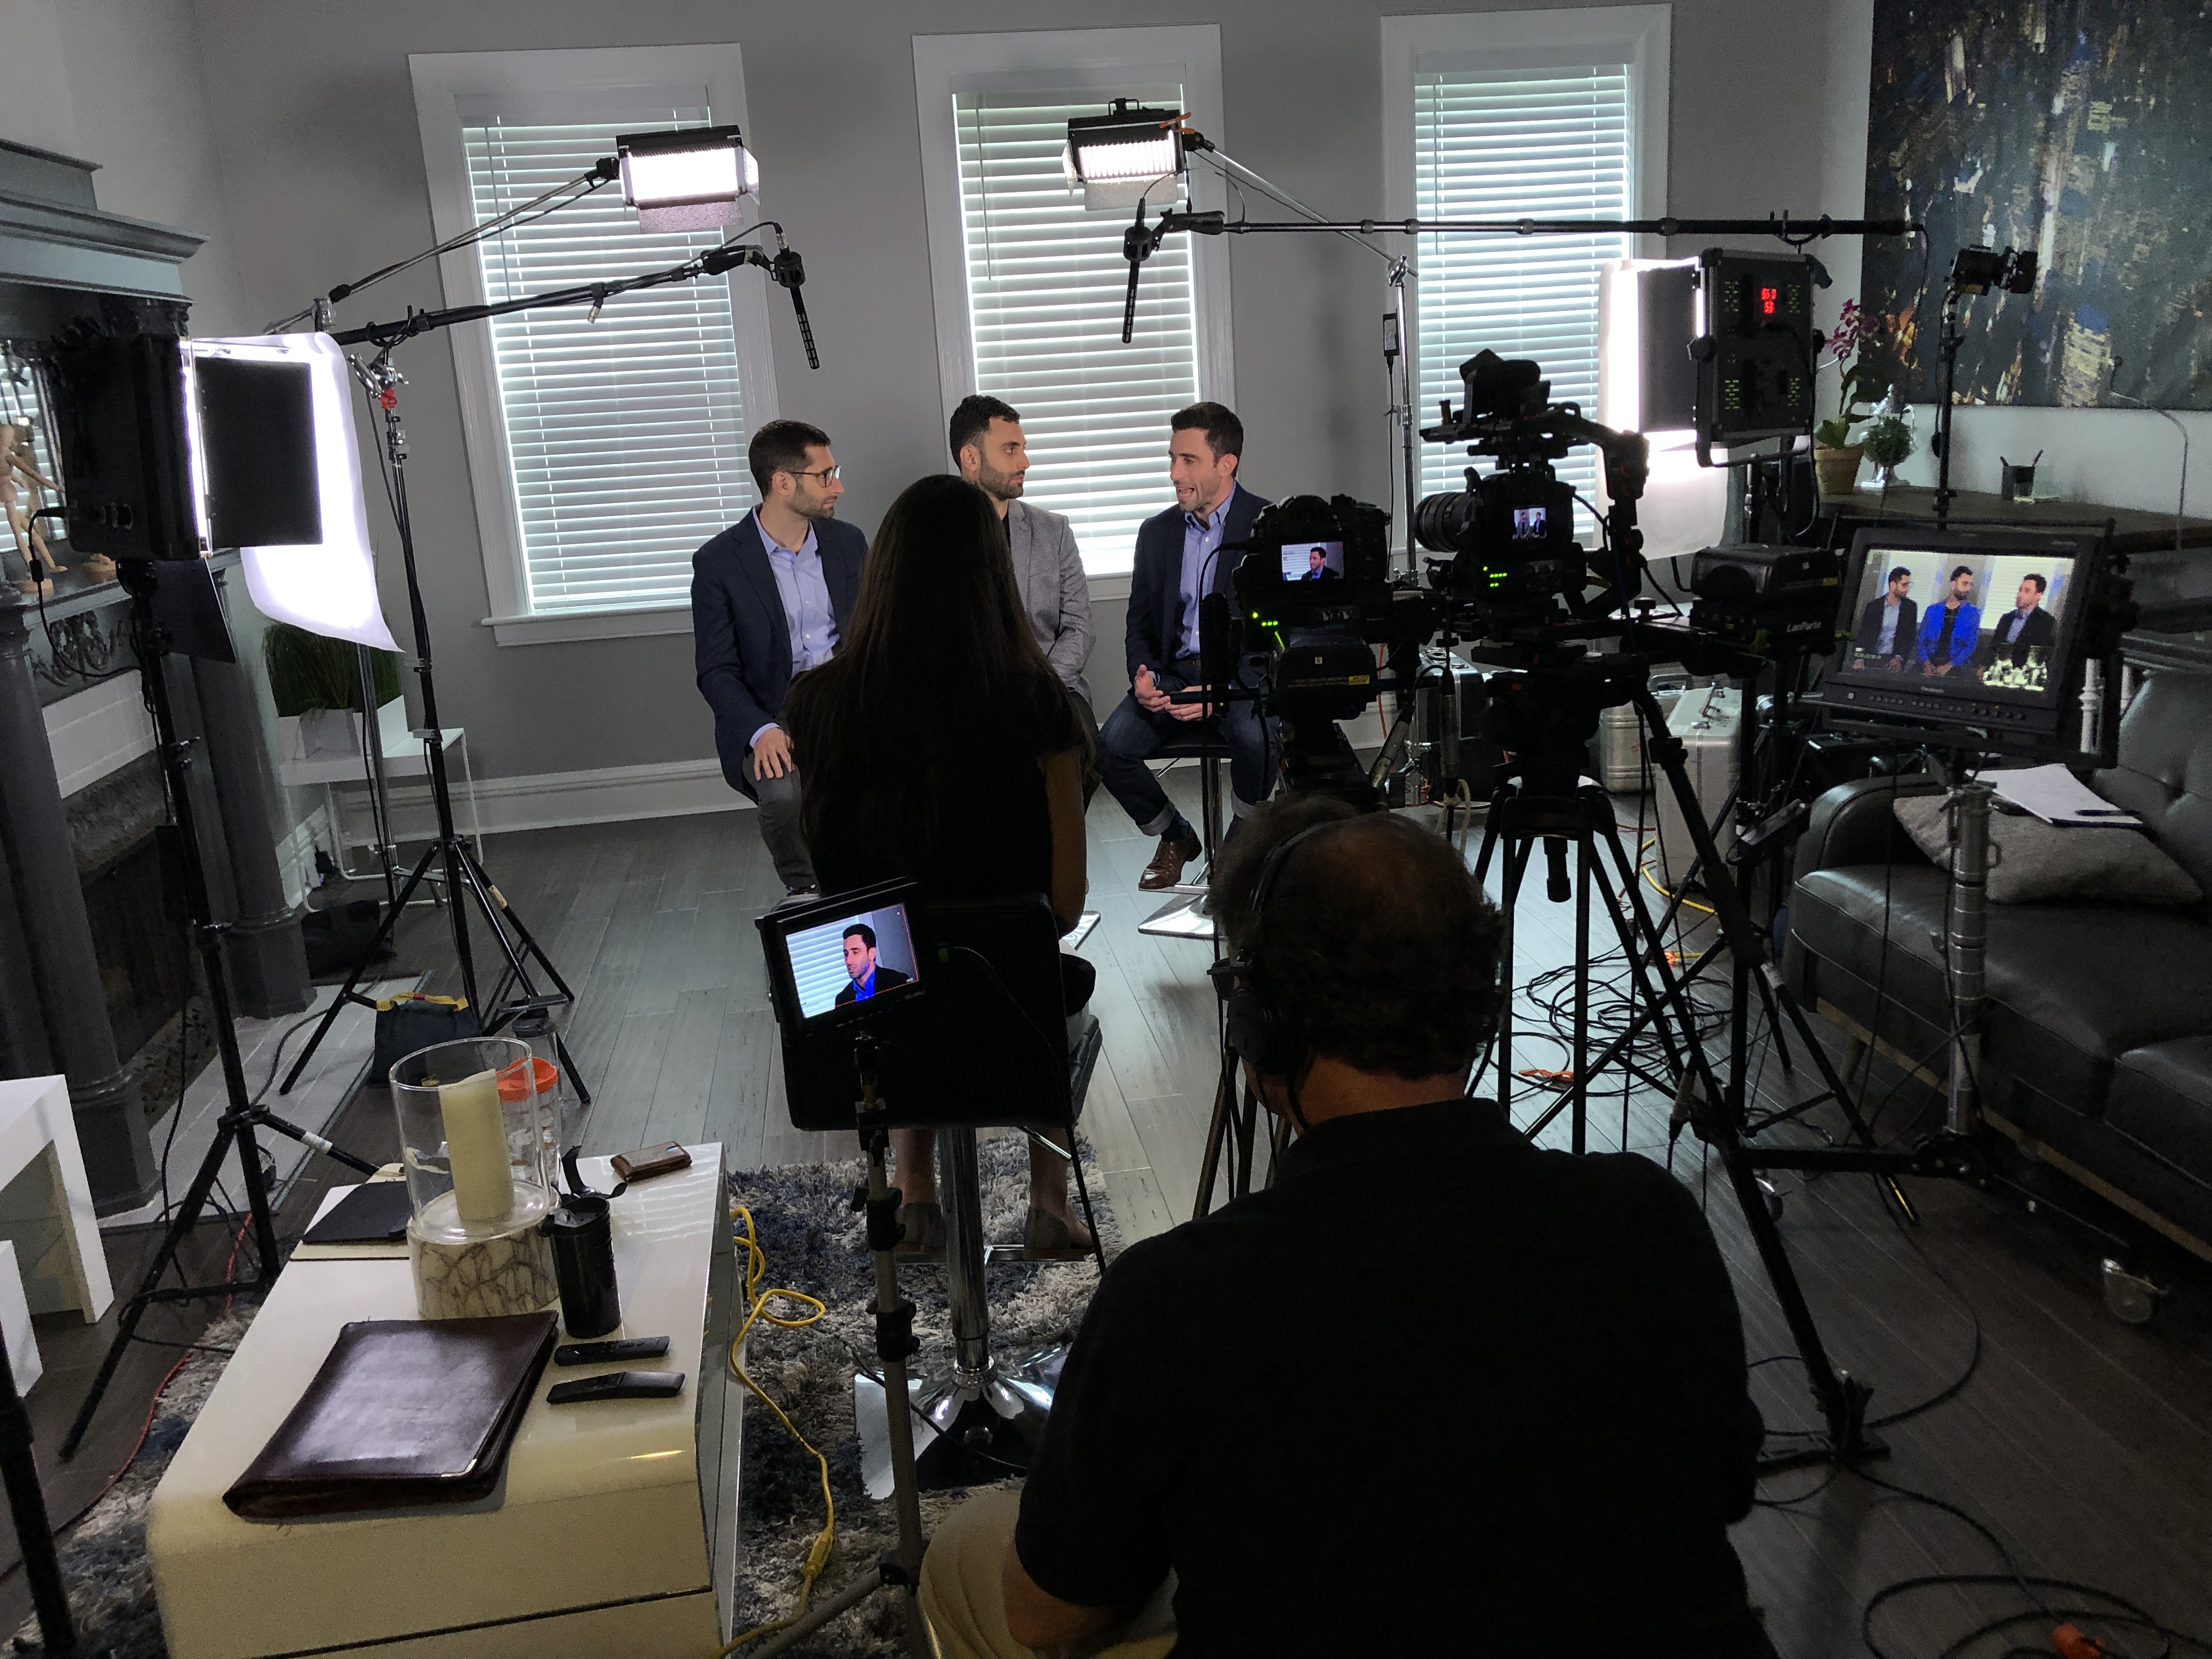
Whether shooting in the studio or on location it’s all the same. You need good dependable equipment. We always provide for the inevitable issue occurring on a project. And like the boy scouts, our team is always prepared. Redundancy for equipment is critical when you are on a live shoot or that “big” production. We treat all projects the same, like they are crucial to our existence, and they are. So the backup equipment is something the customer should be concerned with as well.
On this particular shoot a lamp expired and had to be replaced, nothing major but it’s always important to have a spare when in need. It keeps the production humming and the issues to a minimum. After all we’re supposed to be creating here, LOL!
314-892-1233
Mike Haller, mikeh@hallerconcepts.com
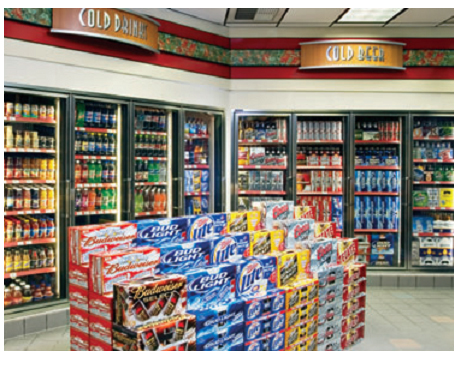
Food and beverage setup for a product and lifestyle shoot at the clients location. We shot during the off hours and were able to get some delicious food and drink shots. Food and beverage styling is important for any photographic shoot, probably even more critical when shooting at the client location since there are time constraints. We took advantage of the great chefs involved and made everything look even better.
314-892-1233
Mike Haller
St Louis Commercial Advertising Photographers
mikeh@hallerconcepts.com